
This tutorial assumes you have basic knowledge of React.js
Like Heroku, and other cloud hosting platforms, Render is a cloud application hosting platform for developers to deploy static sites and dynamic applications. It also offers a fully managed hosted database with internal and external connectivity. This makes it useful for both frontend and backend developers alike.
This is going to be a quick walkthrough on how to deploy a React or Vue.js applications to Render and set up automatic deployment.
Getting Started
Requirements:
To get started, make sure you have Node.js and NPM set up properly on your local machine as this tutorial assumes. We’ll deploy a basic React application, however, I’ll assume you already have one created and want to deploy it.
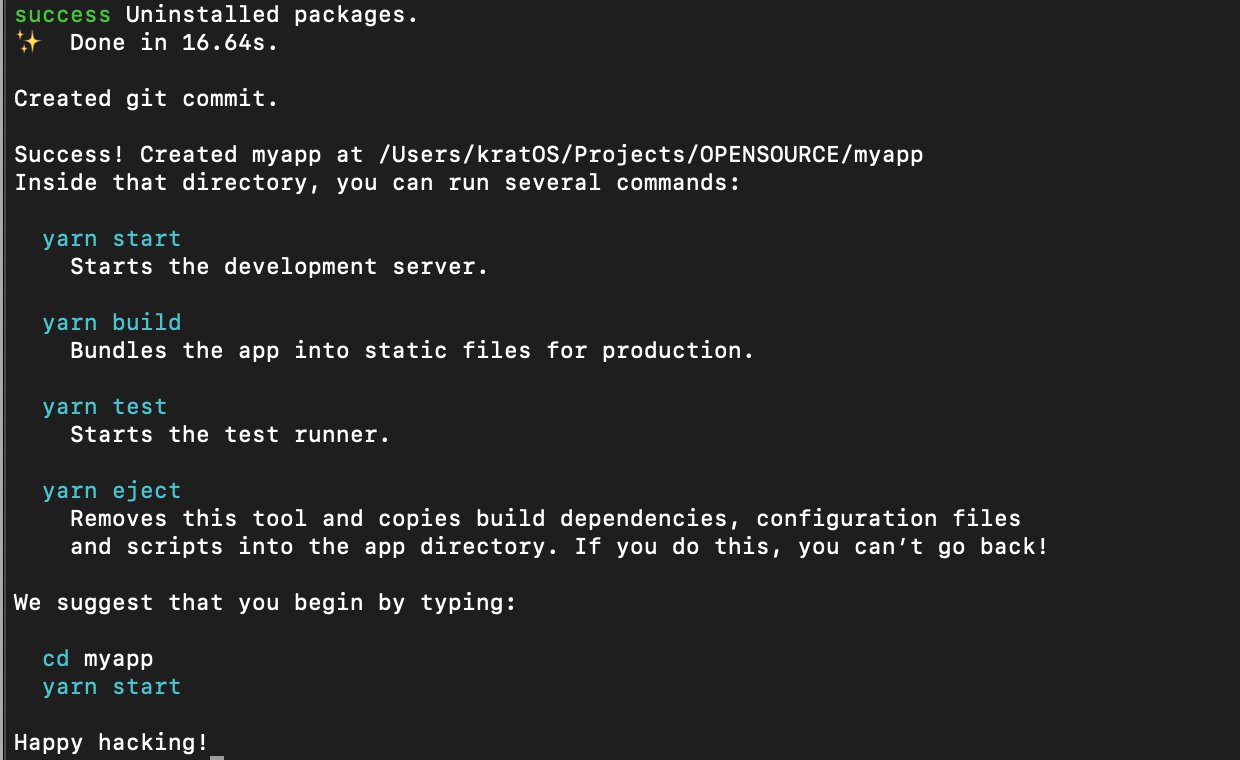
To create a new React application, first, we install npx globally:
npm i -g npx
Next, I’ll create a new react application:
npx create-react-app myapp
This creates a new application and installs all the necessary packages.
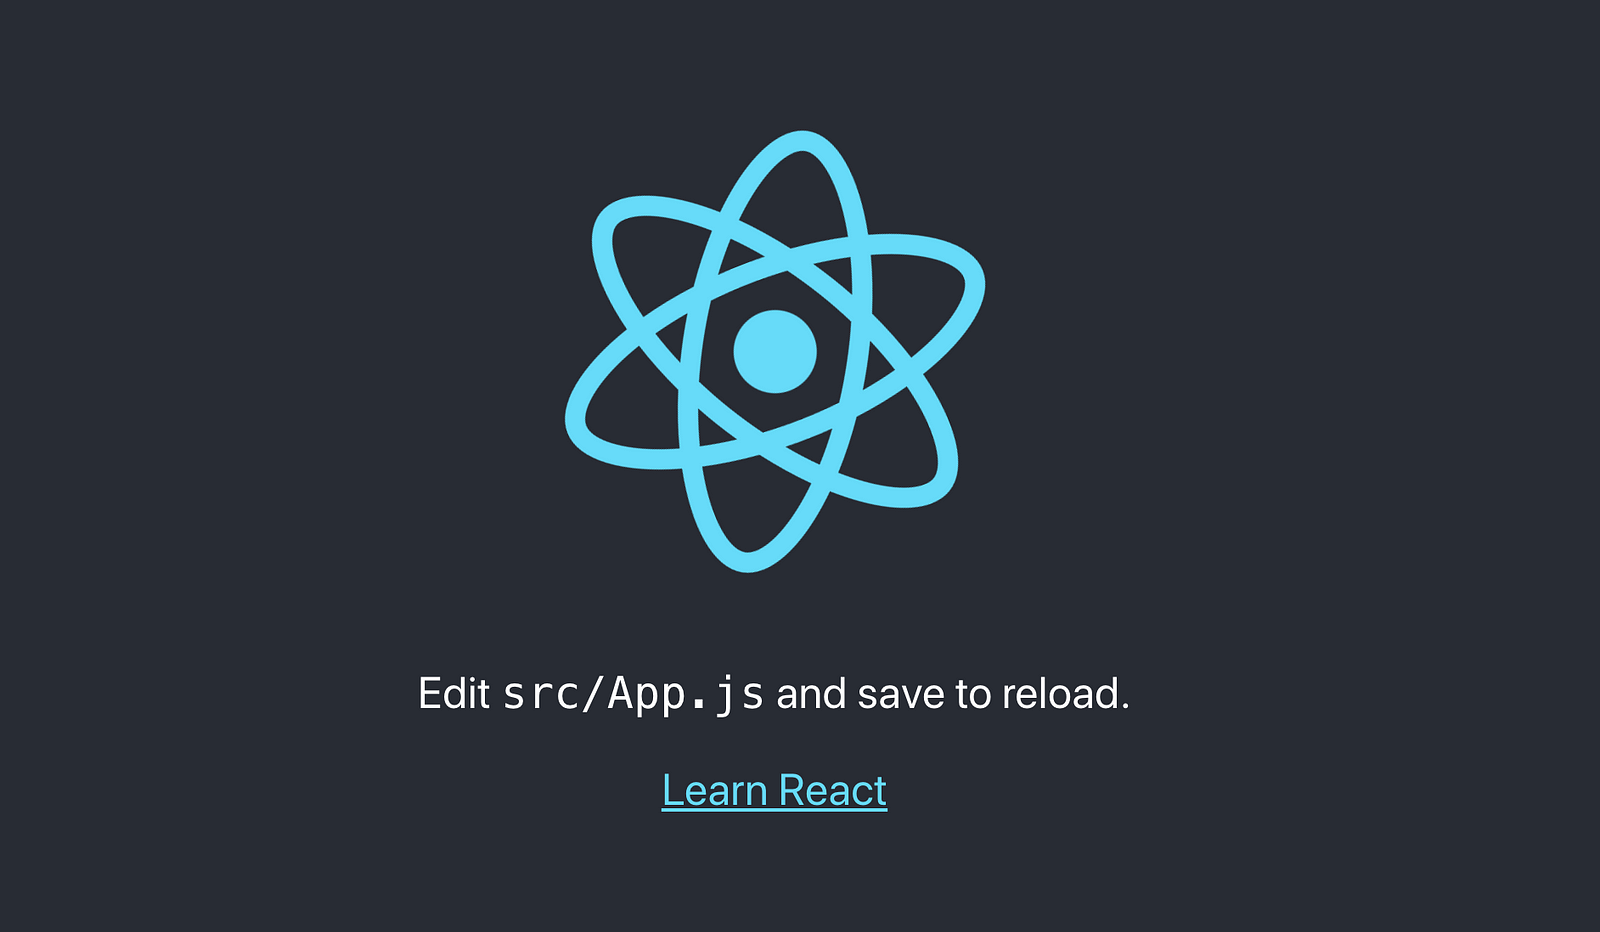
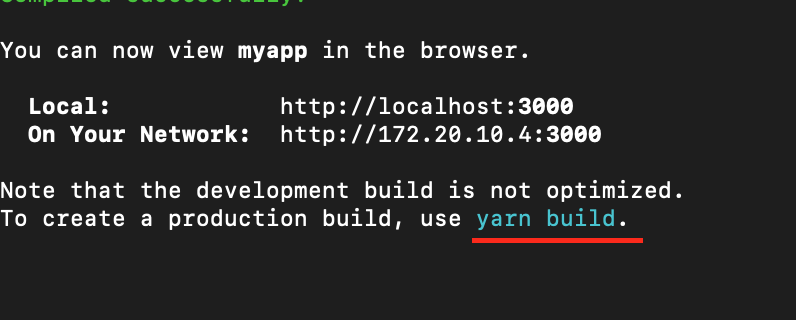
If you change directory into the newly created react application (myapp), starting the server with yarn start should serve the application on port 3000.
Next, We’ll generate a production build of our React application. Production builds are optimized static HTML, CSS, and Javascript files. These files can be deployed on any static hosting service provider.
To generate a production build run the yarn build command:
yarn build
Once that’s done, a new folder called “build” would be generated, this folder contains all the static files we would eventually deploy to any static host provider.

From here on, you can decide to create a zip of the build folder, copy and extract it on a static host provider using FTP, but this process is mostly hectic and repetitive. To resolve this, we’ll deploy to Render and enable auto deployment with Github.
We’ll need to push the source code to Github. Create a GitHub repository and set the repository URL as your origin for your react project.
Once the repository has been created, set the repository as your remote origin. In your terminal within your project root:
git remote add origin https://github.com/MartinsOnuoha/myapp.git
make a commit and push to master branch.
git add . && git commit -m “initial commit” && git push origin master
Deploying to Render
You can create a Render account using Github login if you do not already have one.

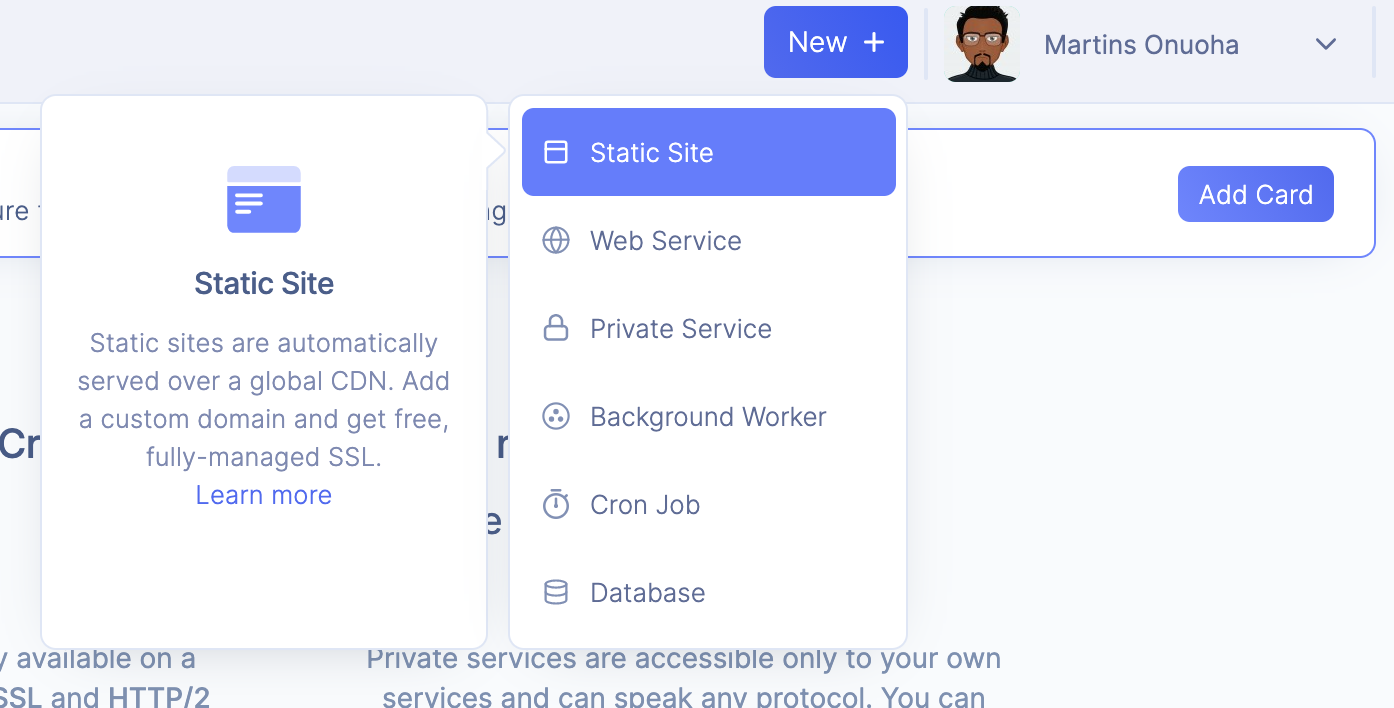
Once you’ve created an account, at the top right, click on “New” and select “Static Site” from the drop-down.
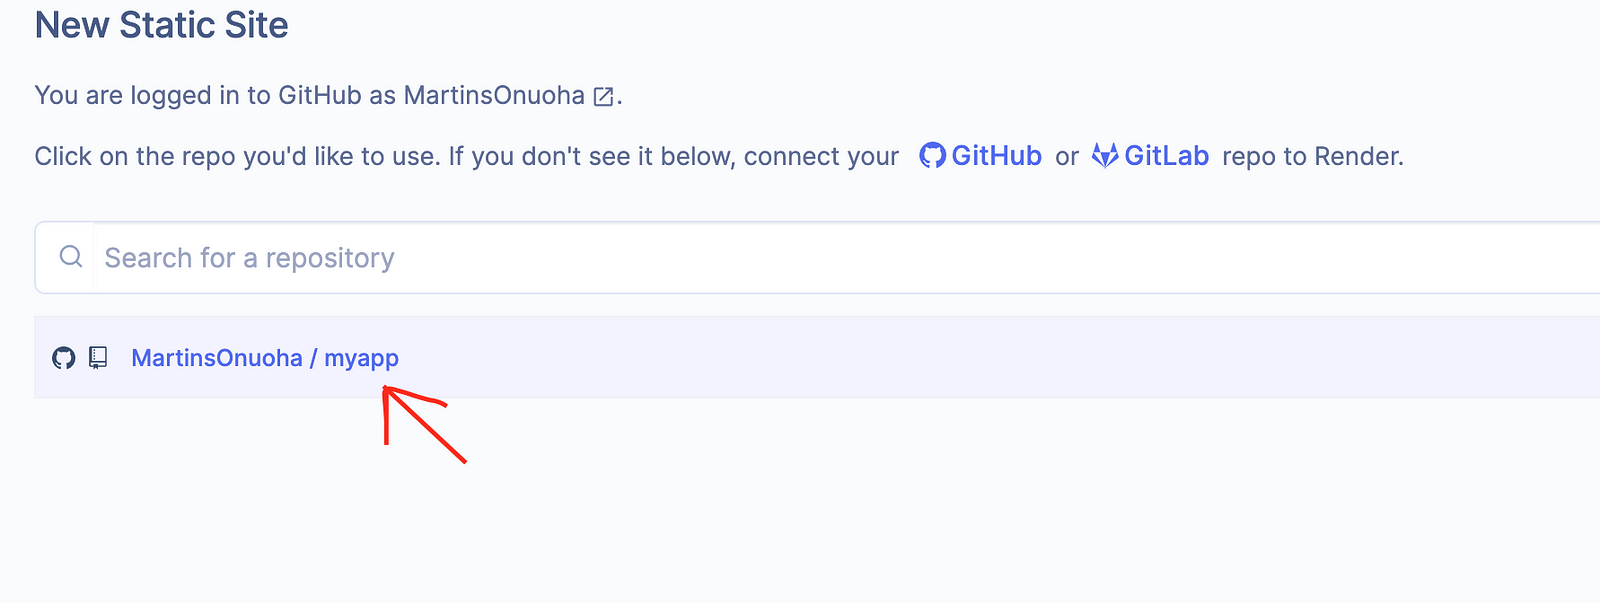
Next, you’ll need to select the repository you just pushed the react app to.

You will be authenticated and redirected back to Render with your selected repository on the list. Click on the repository.
This will take you to the setup page where you’d be required to enter a project name, select the deployment branch and write the build command. Let’s go through some of the fields.
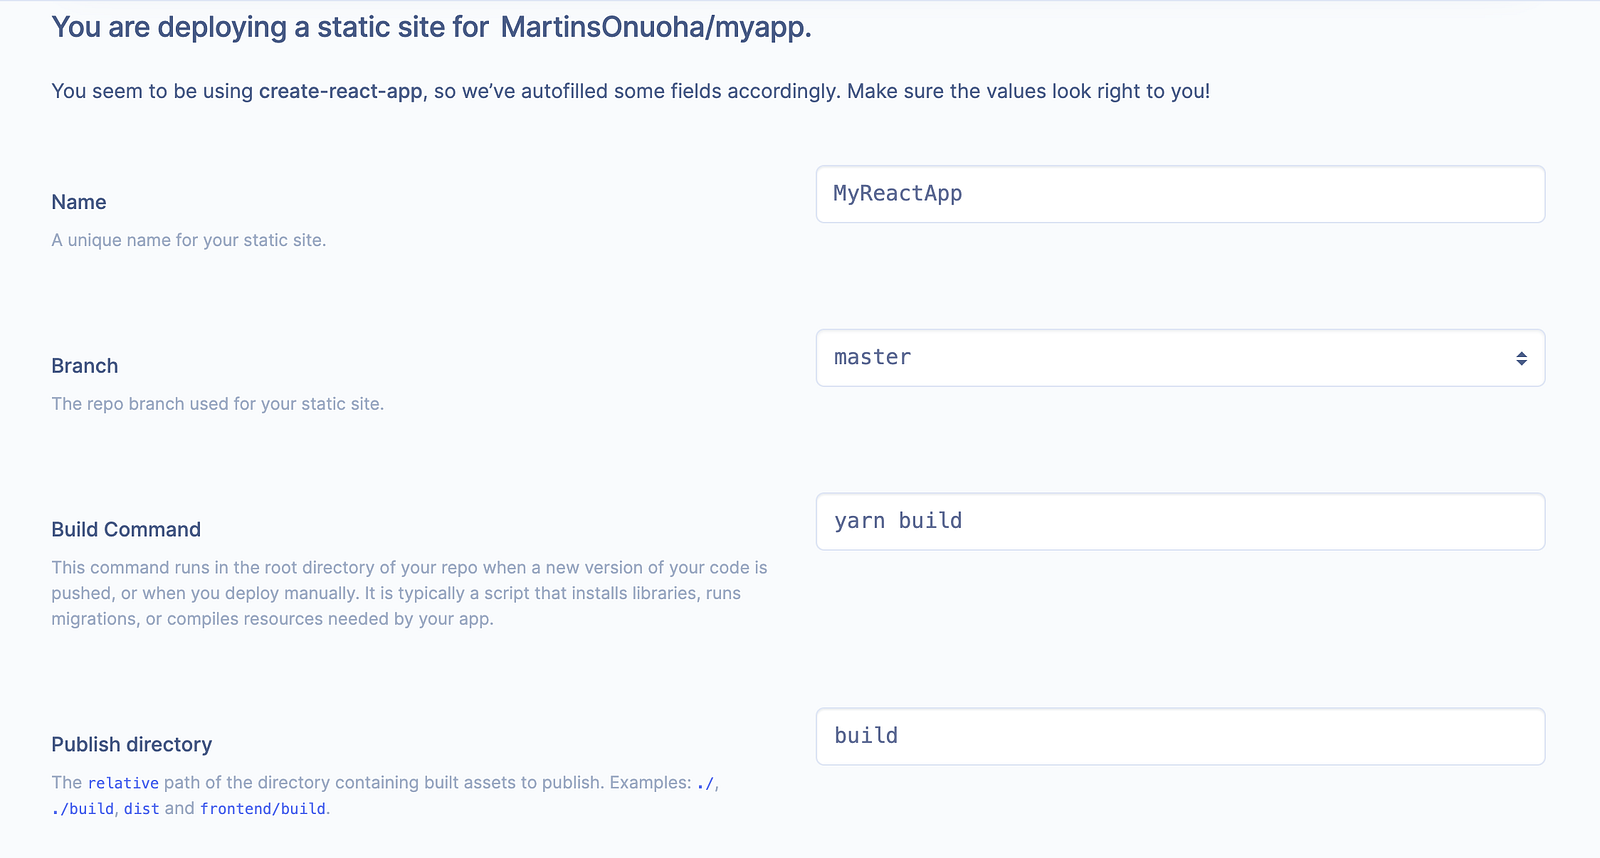
- Name: This can be anything you want, it’s the name of your static site. Render uses this to generate a unique URL.
- Branch: The deployment branch. This is the branch Render watches for changes on before running the build command again (automatically).
- Build Command: is the command Render should run to install dependencies and generate static files.
- Publish Directory: The directory containing the static files generated by the build command.
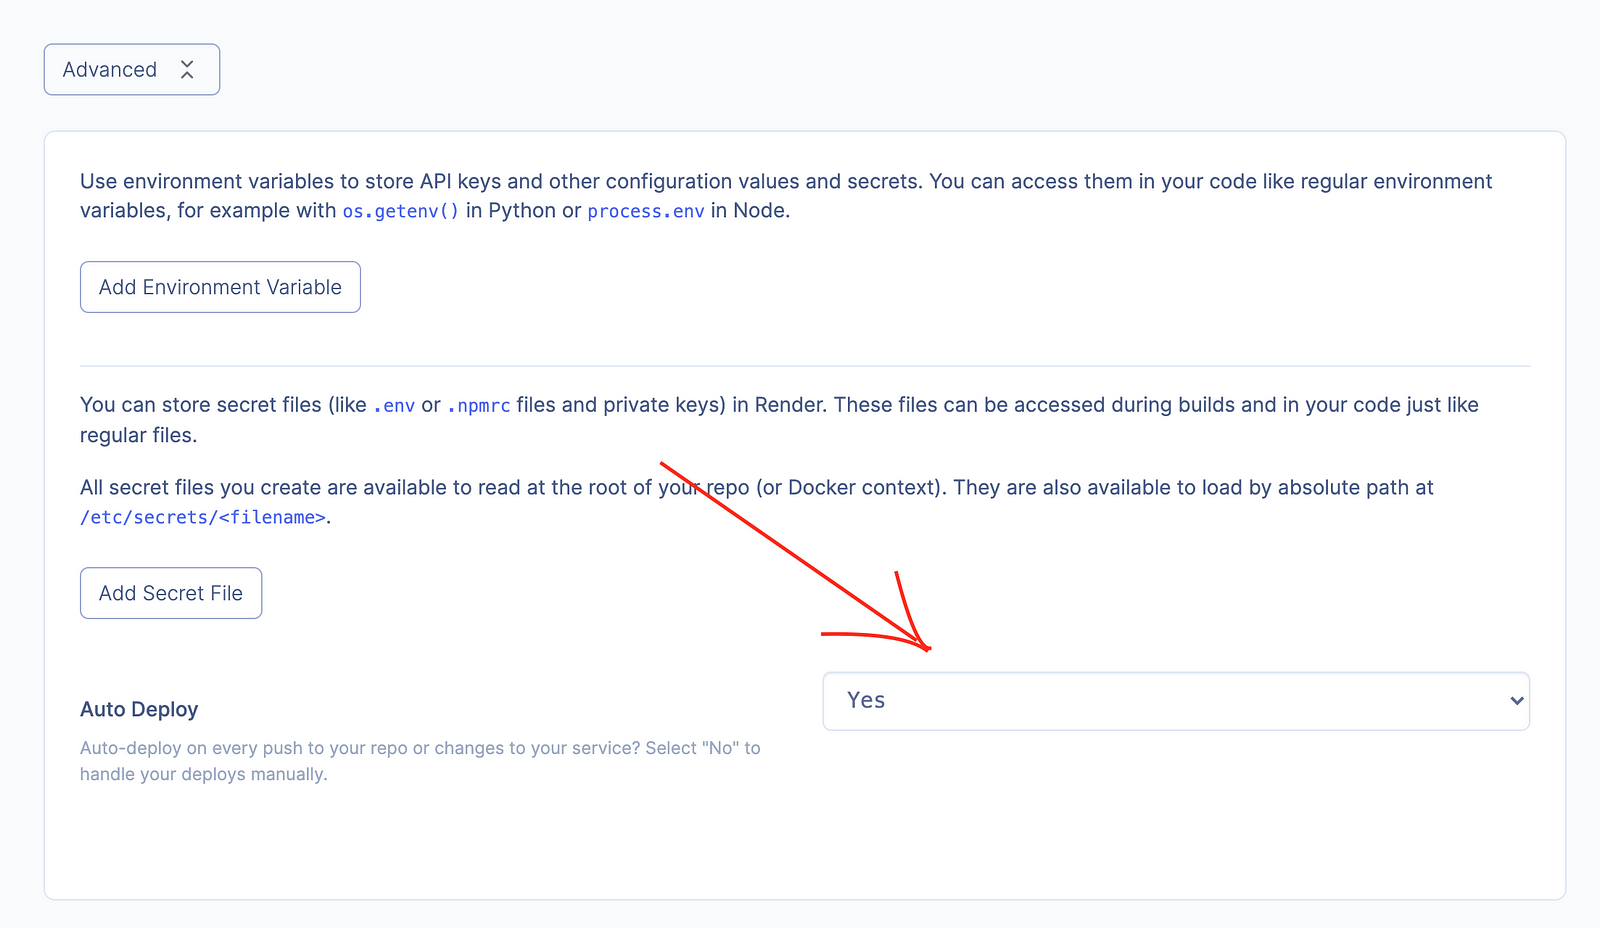
Once that’s all set up, you can click the “Advanced” tab and confirm that “Auto Deploy” is set to “Yes”, this should be the default value.
Click the “Create” button at the bottom. Render will now attempt to generate your React Site given all the parameters. After a couple of seconds, depending on your internet connection, you should see that your site is live.
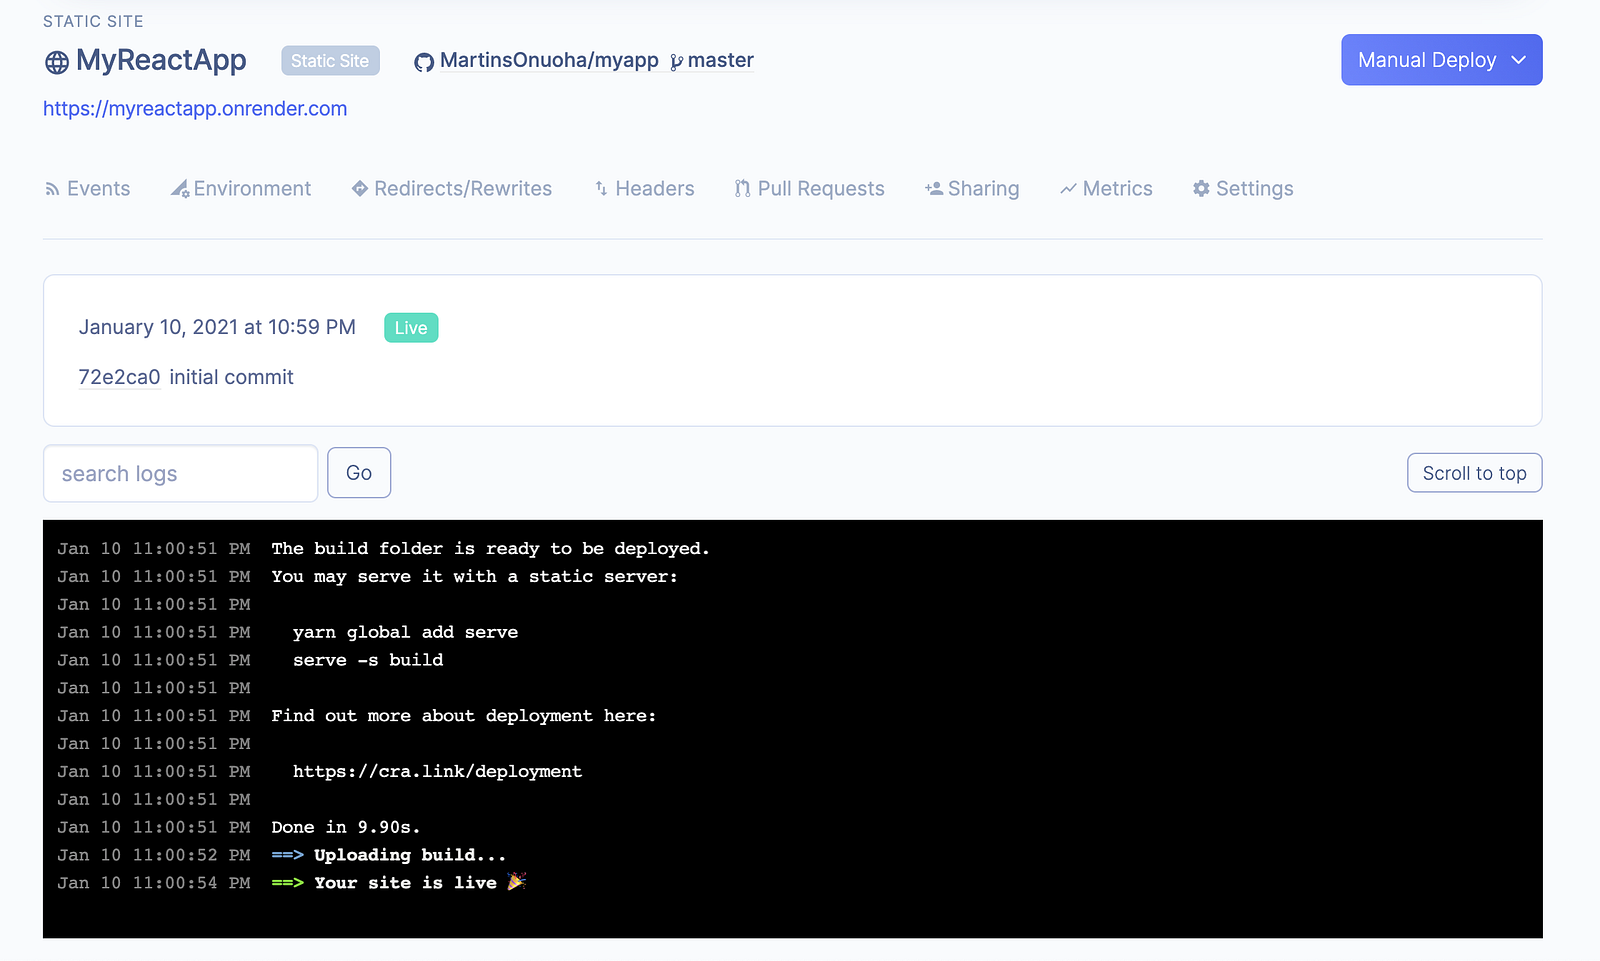
You can visit the URL right below your App name to view your site.
Hopefully, this gives you a basic understanding of how to deploy react applications on Render.
Cheers ☕️