This article assumes you have basic knowledge of React or Vue.js. All the procedures here works for both React and Vue.js applications.
Deploying Frontend Javascript applications with Heroku is a breeze, to say the least. This is mostly because Heroku takes away all of the hassles involved in the setup and just lets you deploy. Of course, this is different when you need to deploy backend applications as you’d be required to provision a database where applicable and include the credentials in environment variables. Thankfully, we don’t have to worry about any of those when deploying frontend applications…oh, unless you’re using environment variables within your frontend app, then you’d need to set them on Heroku as well.
Getting Started
Requirements:
I’ll assume you already have a React or Vue project you want to deploy. For this example, I’ll be using a React project, one I’d previously created. First, make sure you have a Github account. You’d need to make a commit and push your code to Github:
git add . && git commit "initial commit" && git push origin master
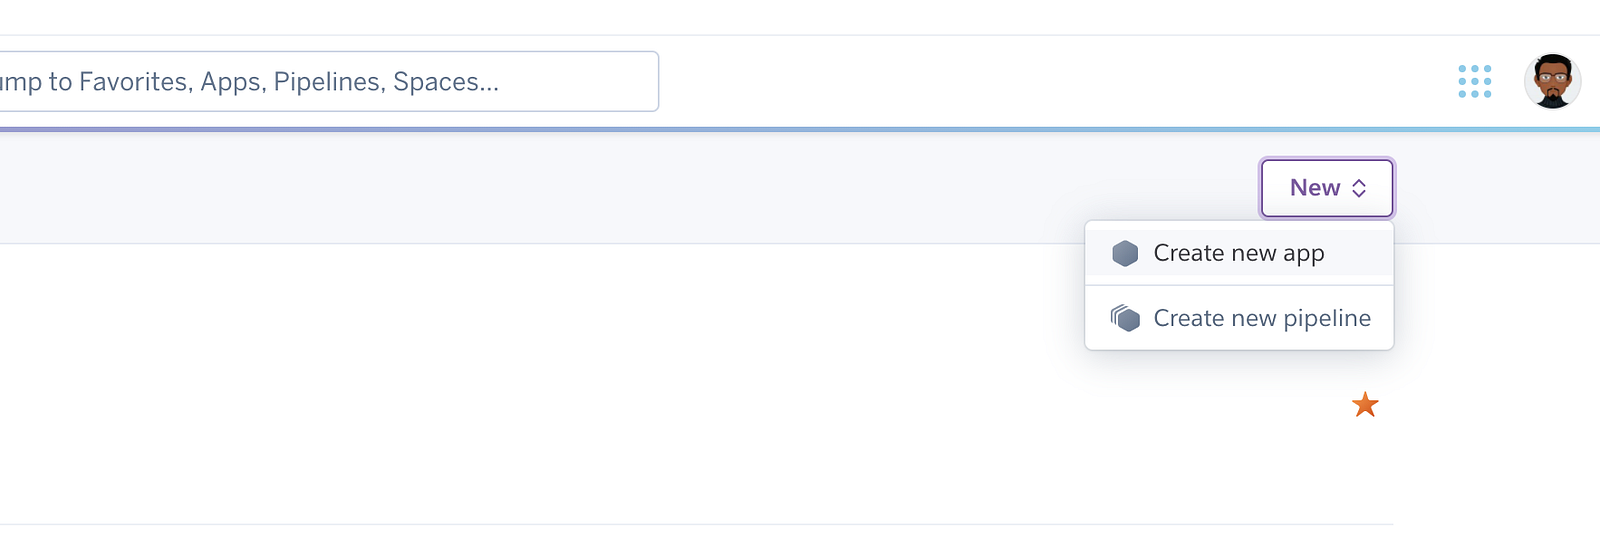
Next, create an account on Heroku if you don’t already have one, and add a new app:
You’ll be required to put in a name and select a region. You can give the app whatever name you want, feel free to leave the region like that or select a region close to your primary users.
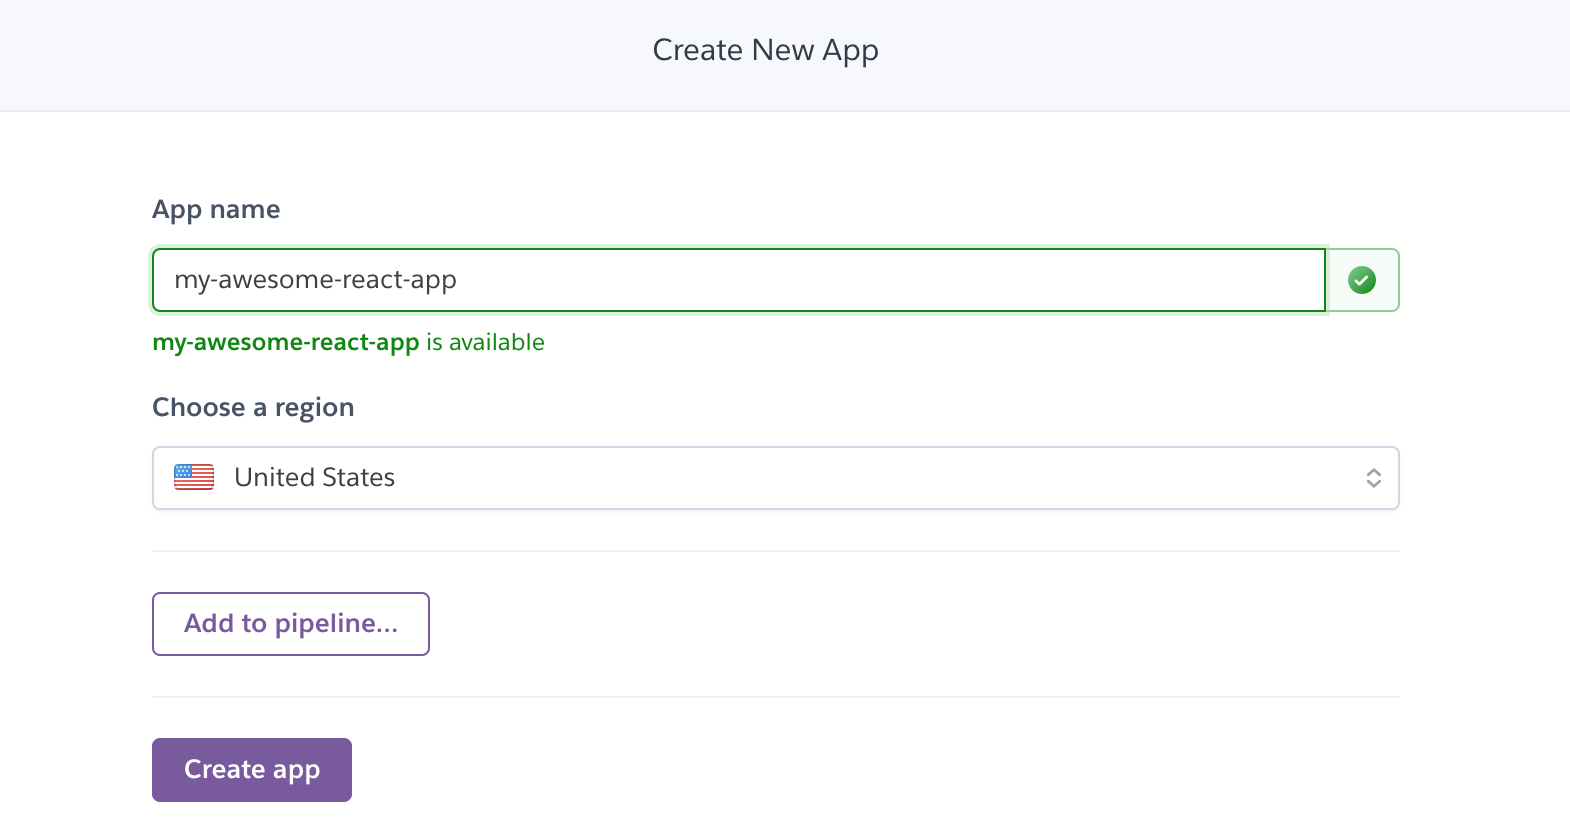
Once you have all the requirements set, click “Create app”. This should create your application and show you the deploy tab, where you get to choose how you want to deploy your application.
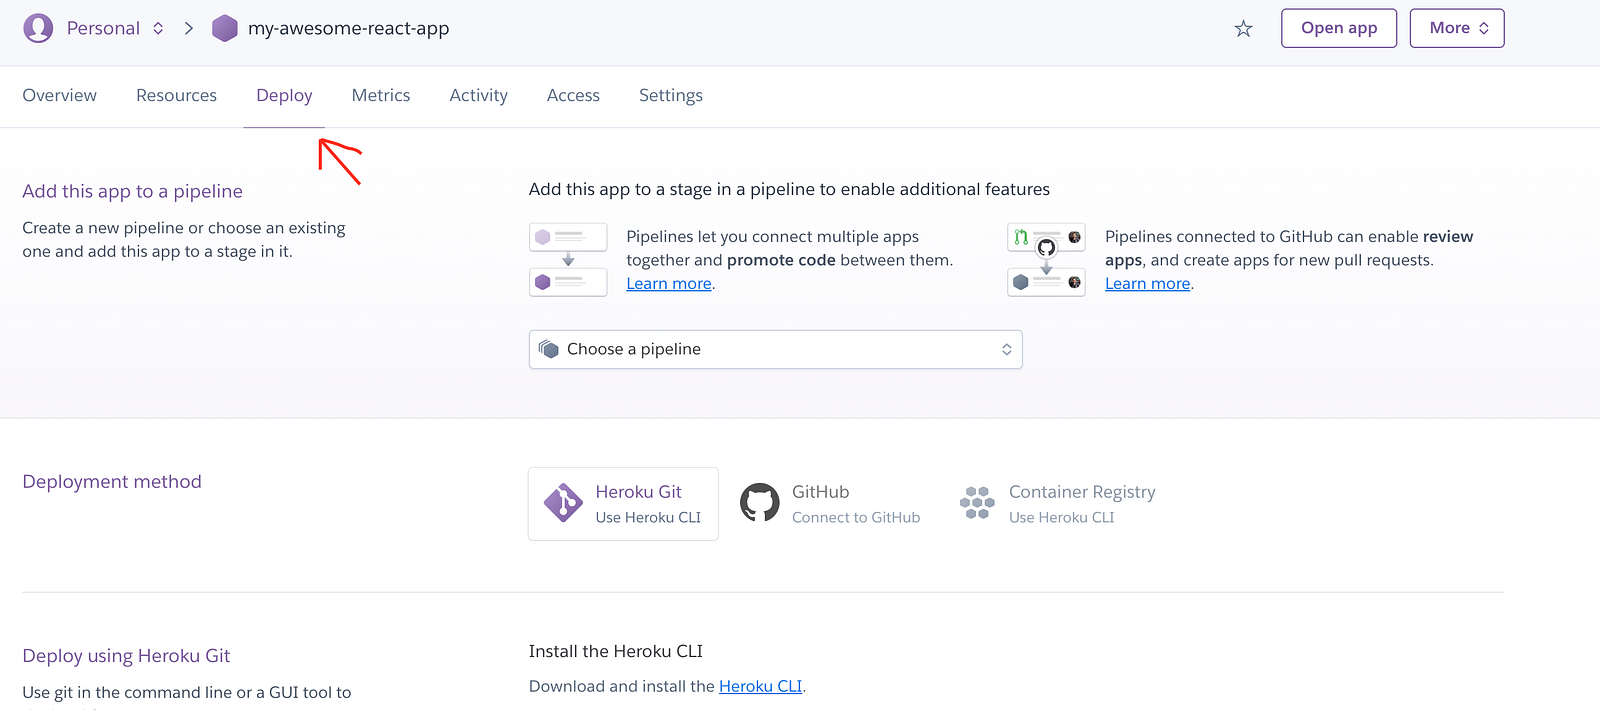
At this point, Heroku doesn’t know the kind of application you intend to deploy, but it is smart enough to figure it out once we select a repository. Under the “Deployment Method” section, you have “Heroku Git” selected by default, change this to “Github”. You’d need to search for the repository you pushed your code to:

Once Heroku finds it, click “Connect”. Heroku would link this repository to the Heroku app. In the next section, you’ll be prompted to set up automatic deploys from Github.
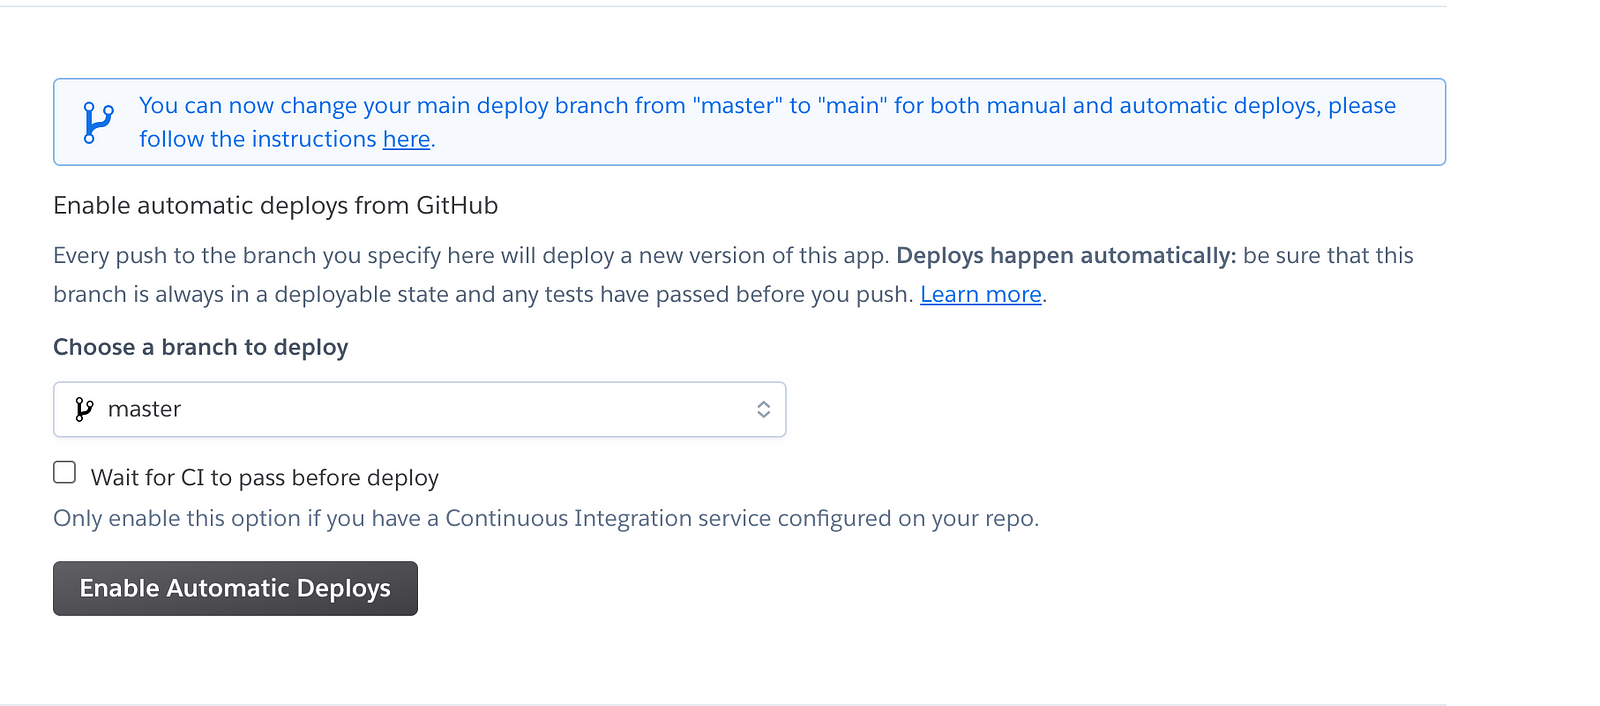
As stated, every push you make to the specified branch will trigger a new build and deployment. We’ll leave the selected branch as “master” (Change it if you want something else). Then click the “Enable Automatic Deploys” button.
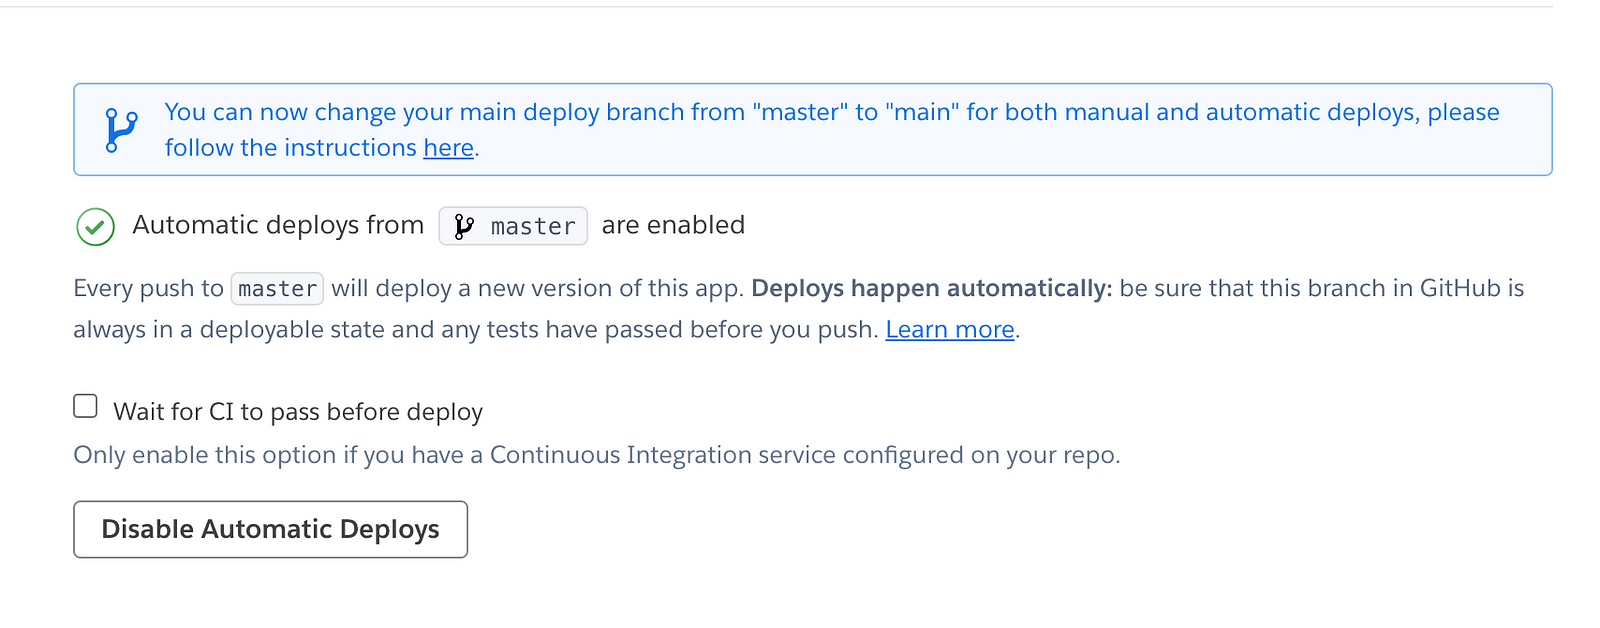
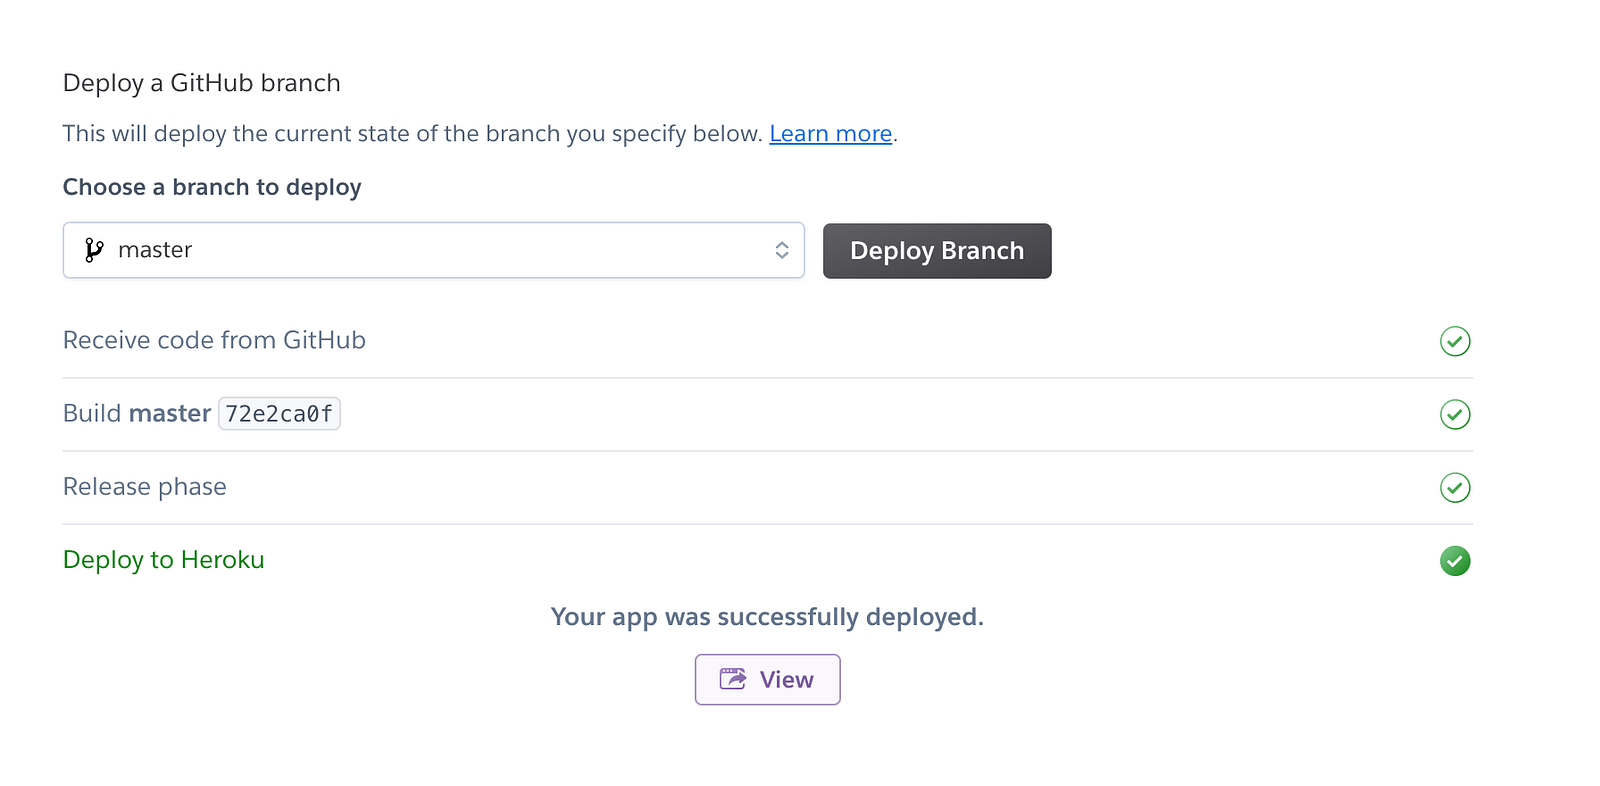
Finally, you trigger a manual deployment in the next section:

Click on “Deploy Branch”, and Heroku should handle the rest from there. Once the deployment is complete, you should see a “view” button at the bottom, click this button to view your application.
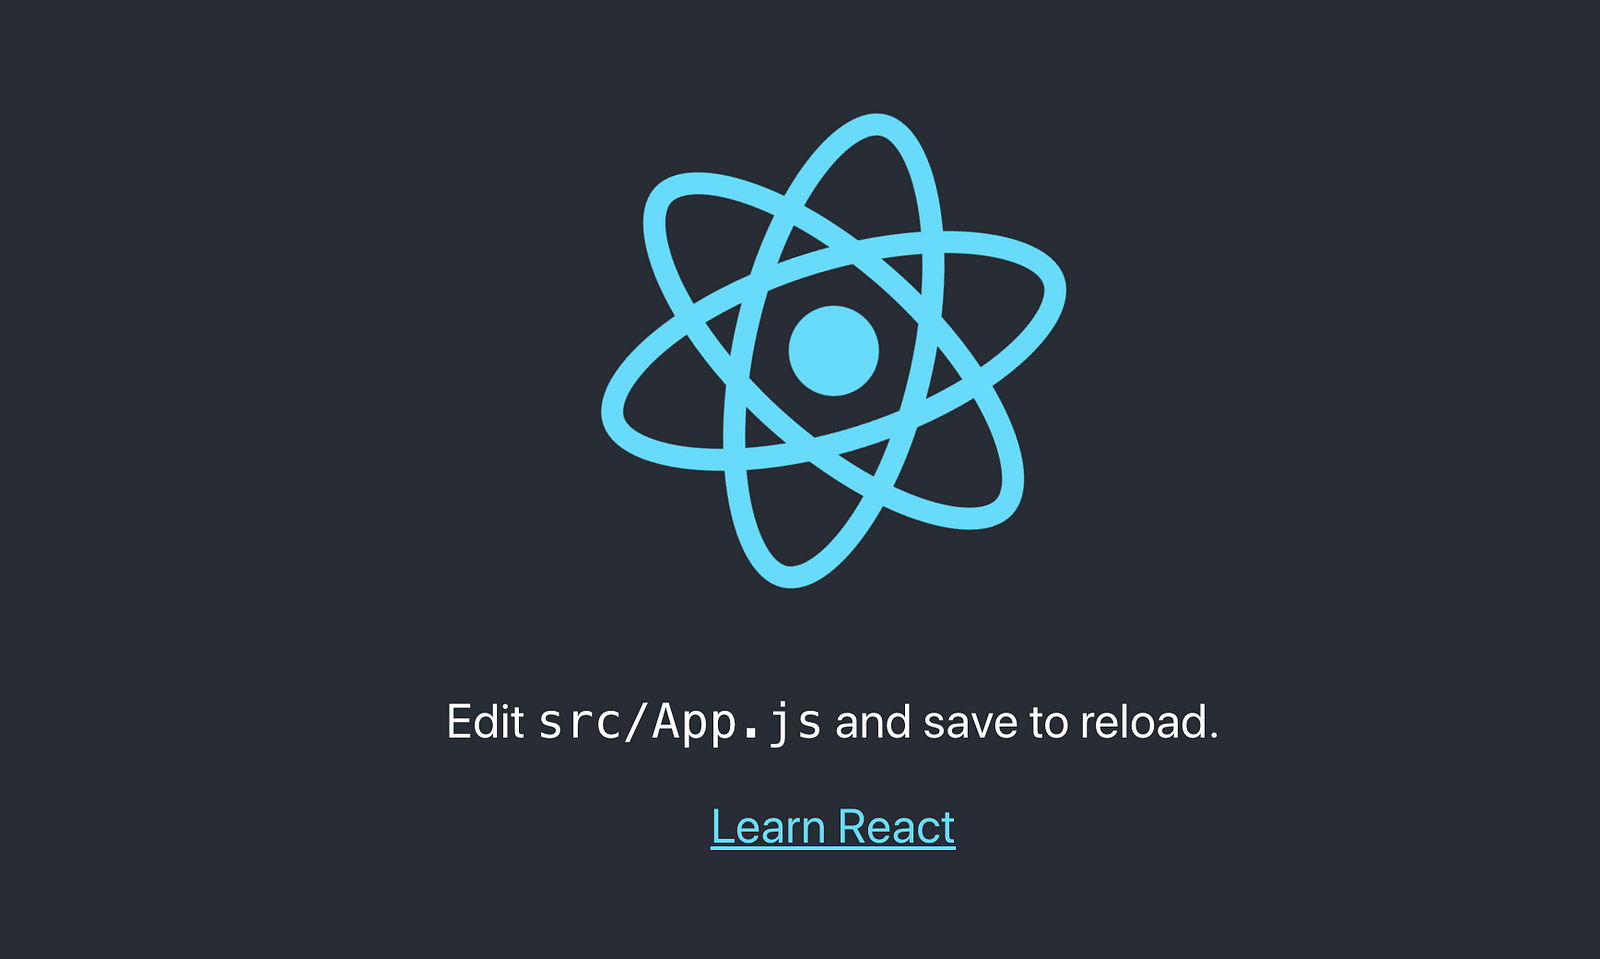
You should see your application on a unique URL.
Now every time you push a new change to your master branch, Heroku listens for updates on that branch and will automatically rebuild your application to serve the latest build.
You can test this out by updating the App.js file and pushing that update to the master branch on Github. In your Heroku dashboard, you should now see a new build is in progress.

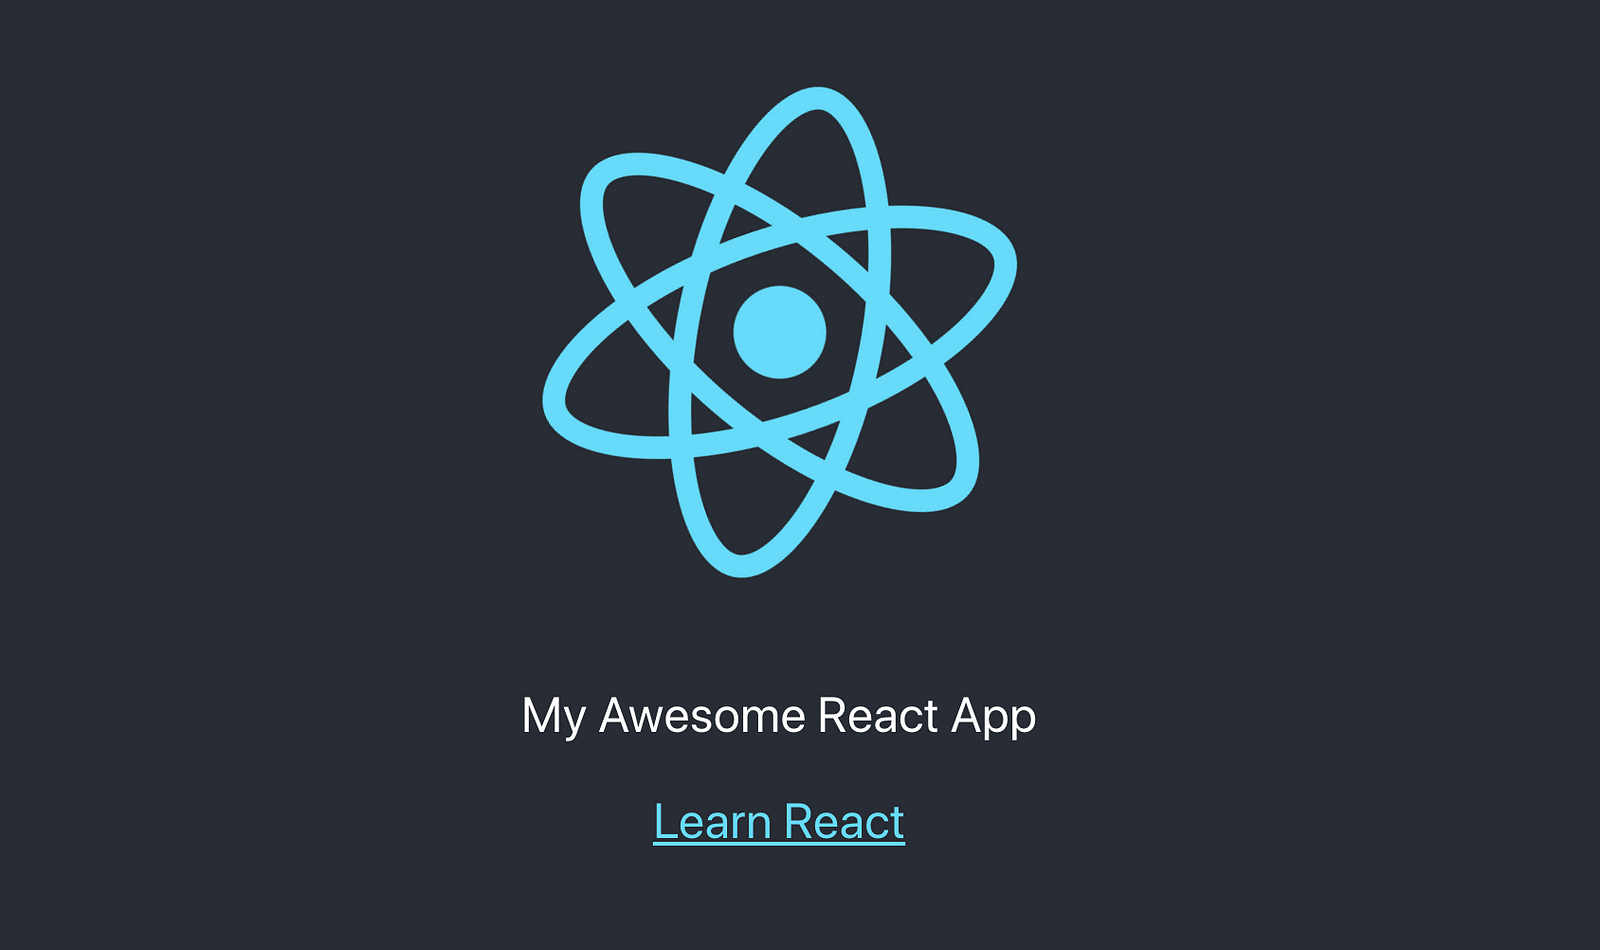
Once that’s done, you should see the updates you made on your site.
Hopefully, this has helped someone.
Cheers ☕️


