
This article assumes you have basic knowledge of React or Vue.
Formerly Zeit, Vercel is another leading platform for deploying web applications easily. It’s no different from the likes of Heroku & Render except that Vercel is highly optimized for Javascript Frontend applications, particularly Jamstack apps.
Getting Started
Requirements:
- Nodejs setup
- Github account
- Vercel Account
We’ll run through each process in steps.
Step 1
Push your React or Vue Project to Github.
git add . && git commit -m "initial commit" && git push origin master
Step 2
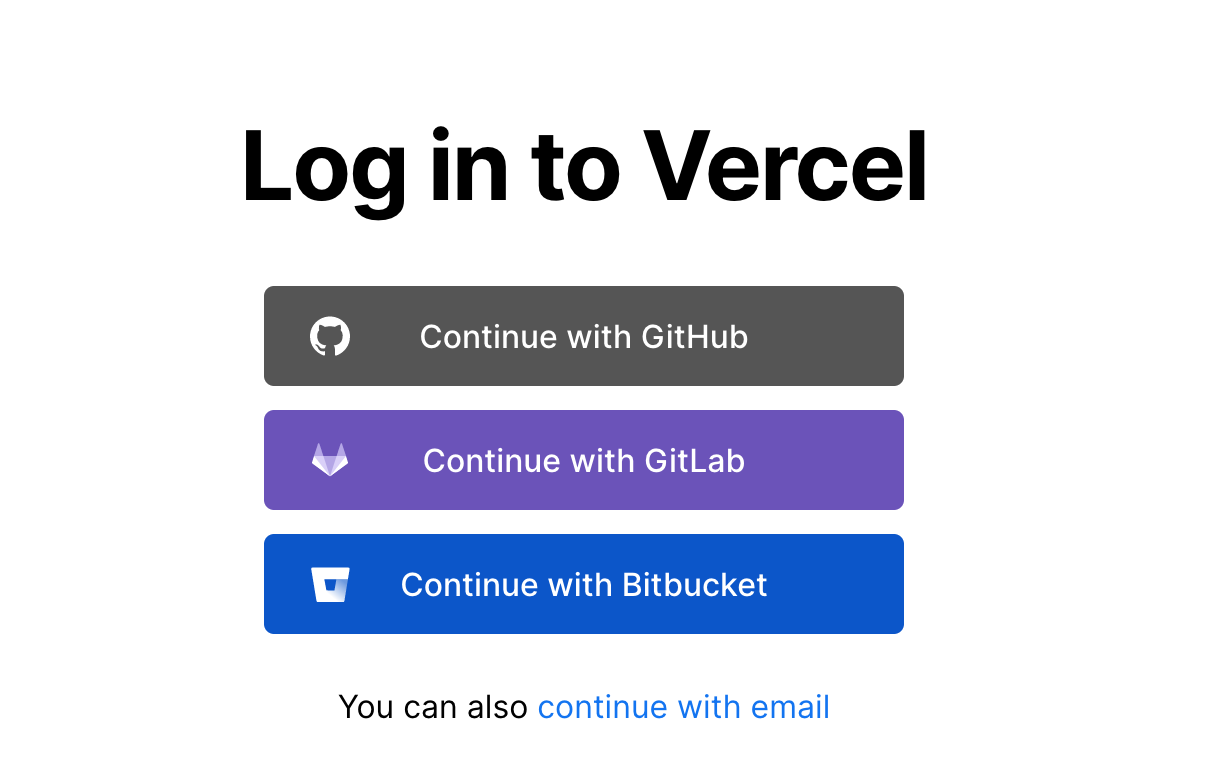
Create an account and log in to Vercel using any of the below options.
Step 3
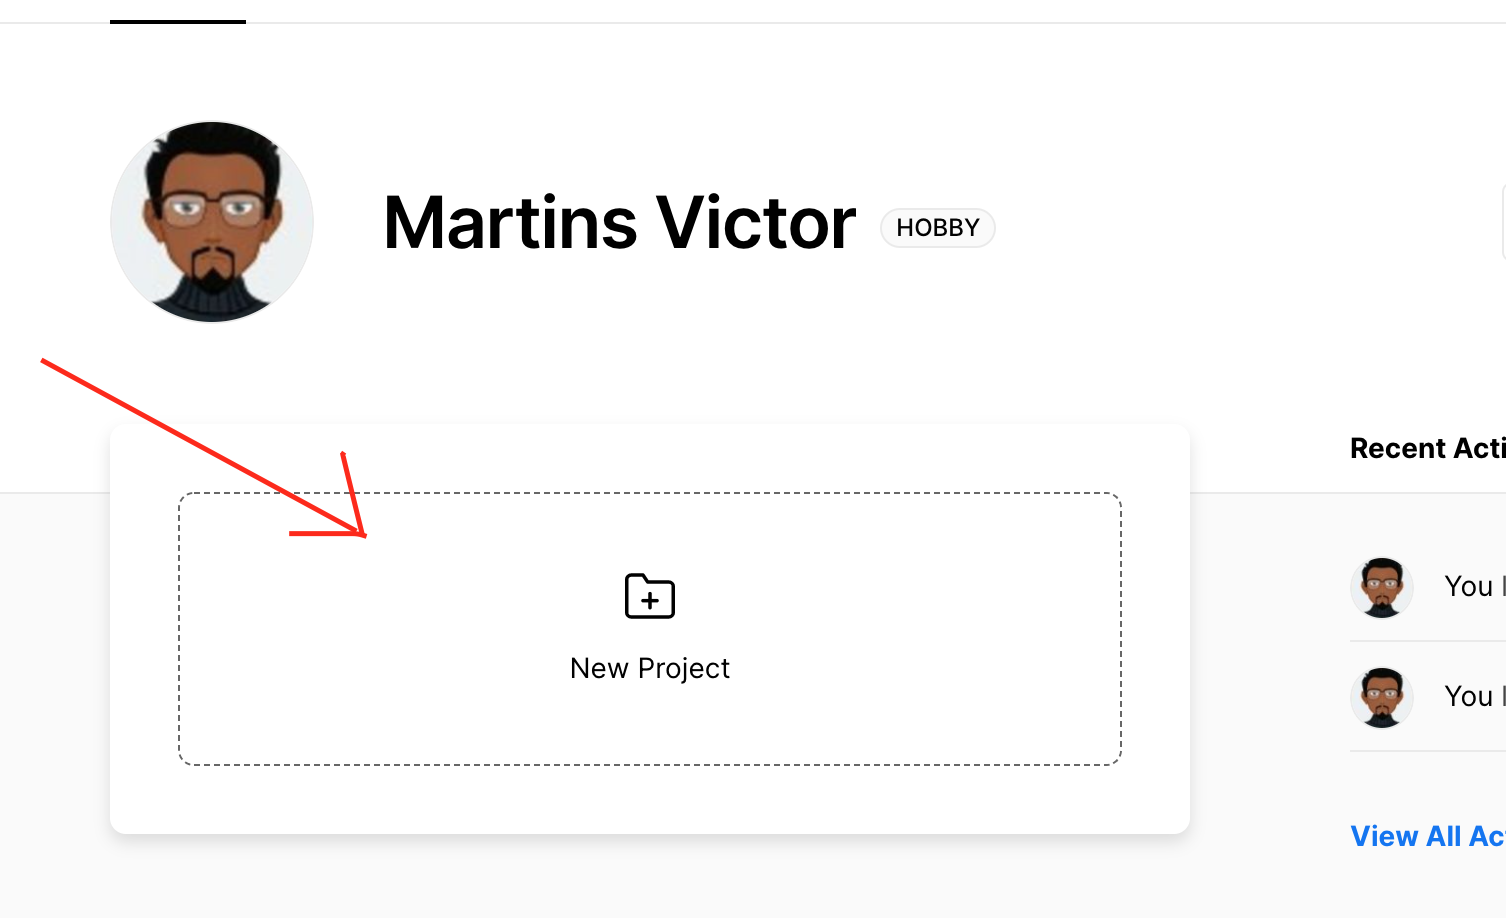
You should be able to see your Vercel dashboard right after. From the dashboard click on “New Project”.
Step 4
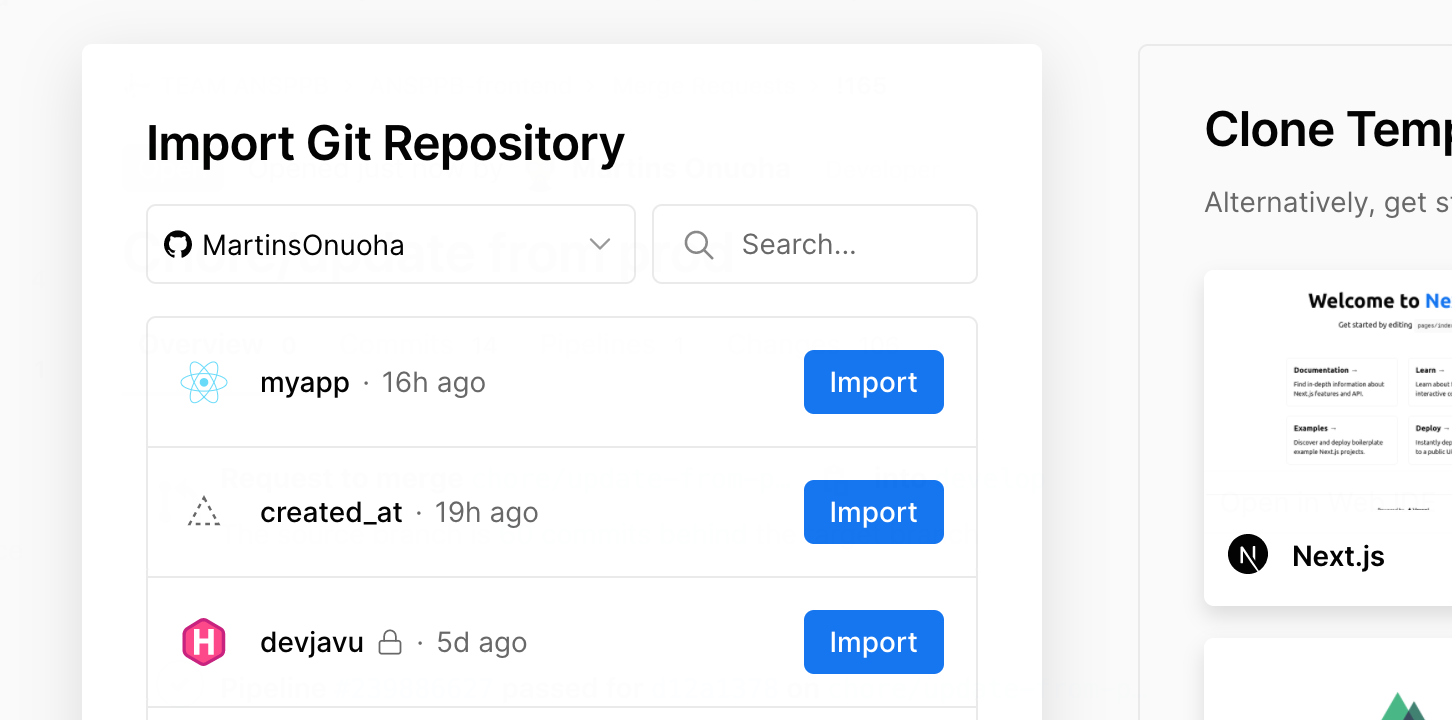
From there you should see a list of Github repositories you can import from. Notice how Vercel automatically detects the project type. I’ll choose the first “myapp” repository, which is a react project, by clicking the “Import” button right beside it.
Step 5
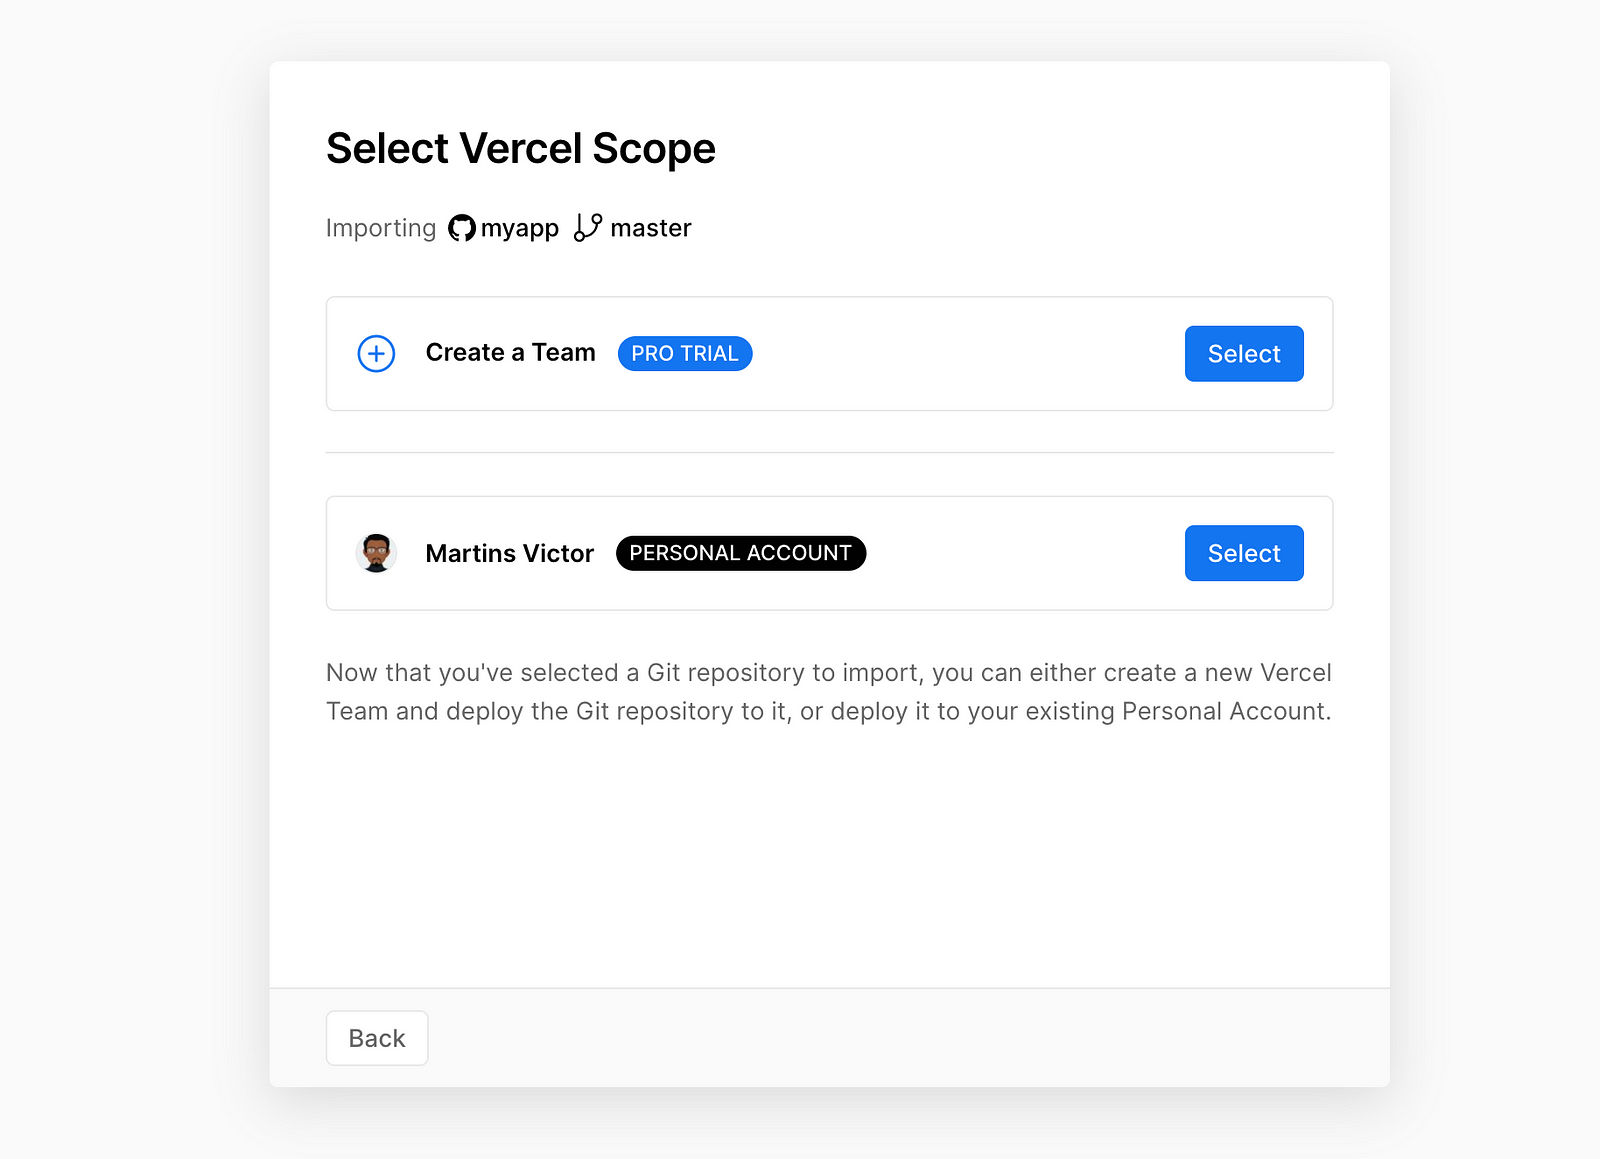
Next, you’ll be asked to select a Vercel scope, feel free to select your personal account.
Step 6
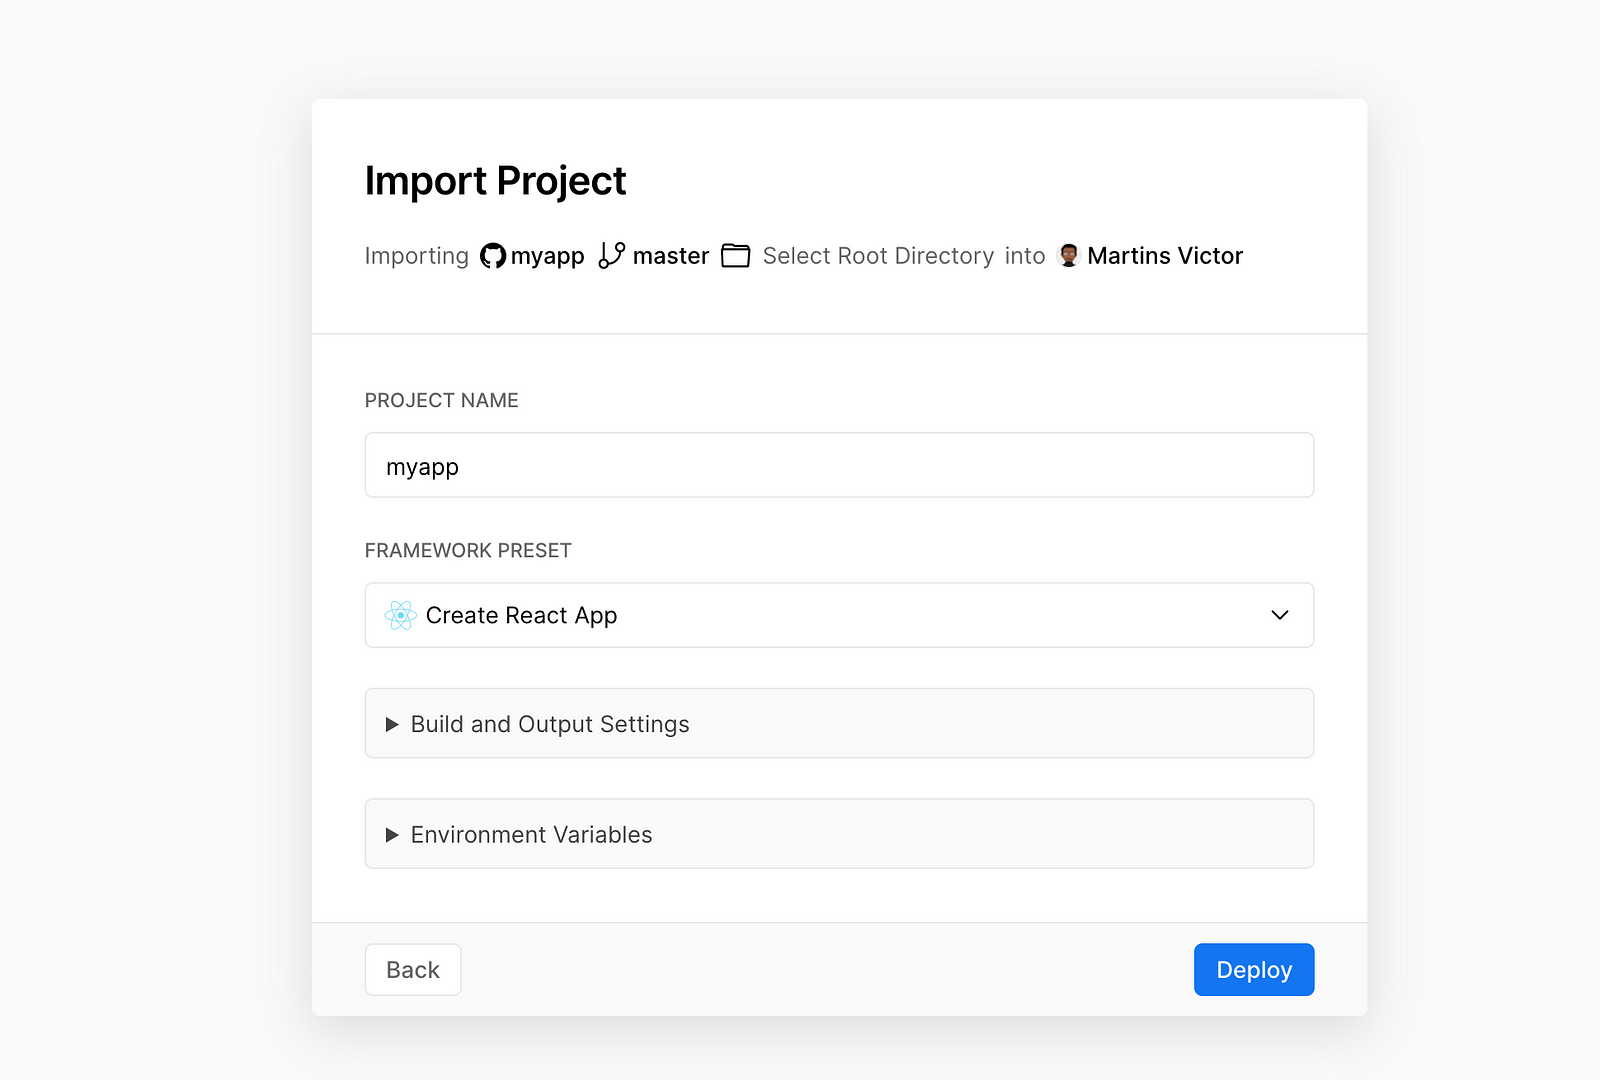
Here you’ll need to give a bit more details about your project. The Project name field takes any name of your choice for this project. Framework Preset is automatically set by Vercel when you import a repository, You can leave this as is.
The Build and Output Settings sections describe the command that Vercel should run to generate a production build of your application. Vercel would most likely pick this value up from your “package.json” file and auto-fill it specifically for the project type (Vue or React). You can, however, change it if you want by toggling the “Override” option.
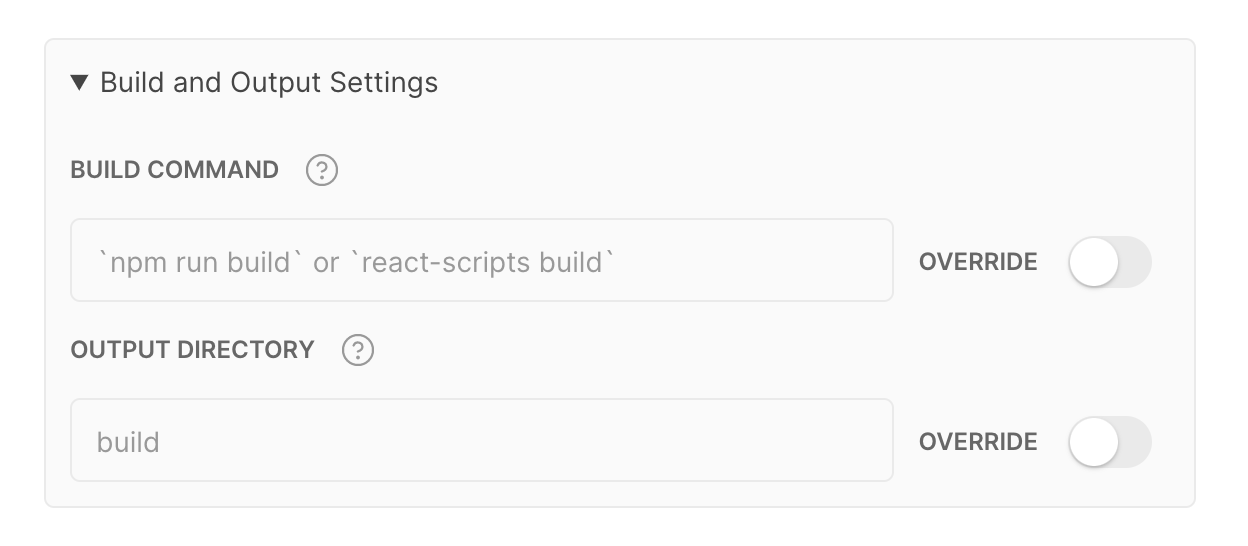
The Output Directory is where your optimized static files will be, and this is the folder that will be eventually deployed to Vercel. For Vue projects, this folder might be called “dist”.
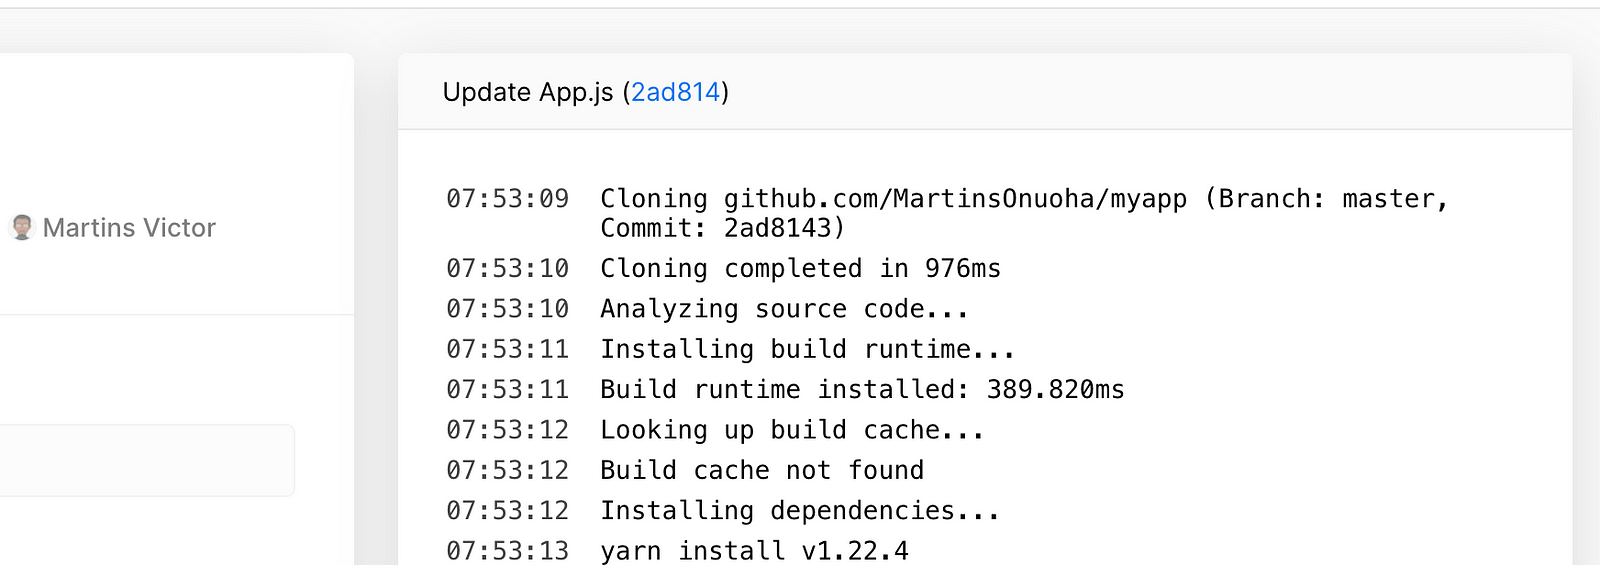
Once these details are complete, click the “Deploy” button. You should be able to see a log showing the build & deployment process.
After a couple of seconds, your site should now be ready.
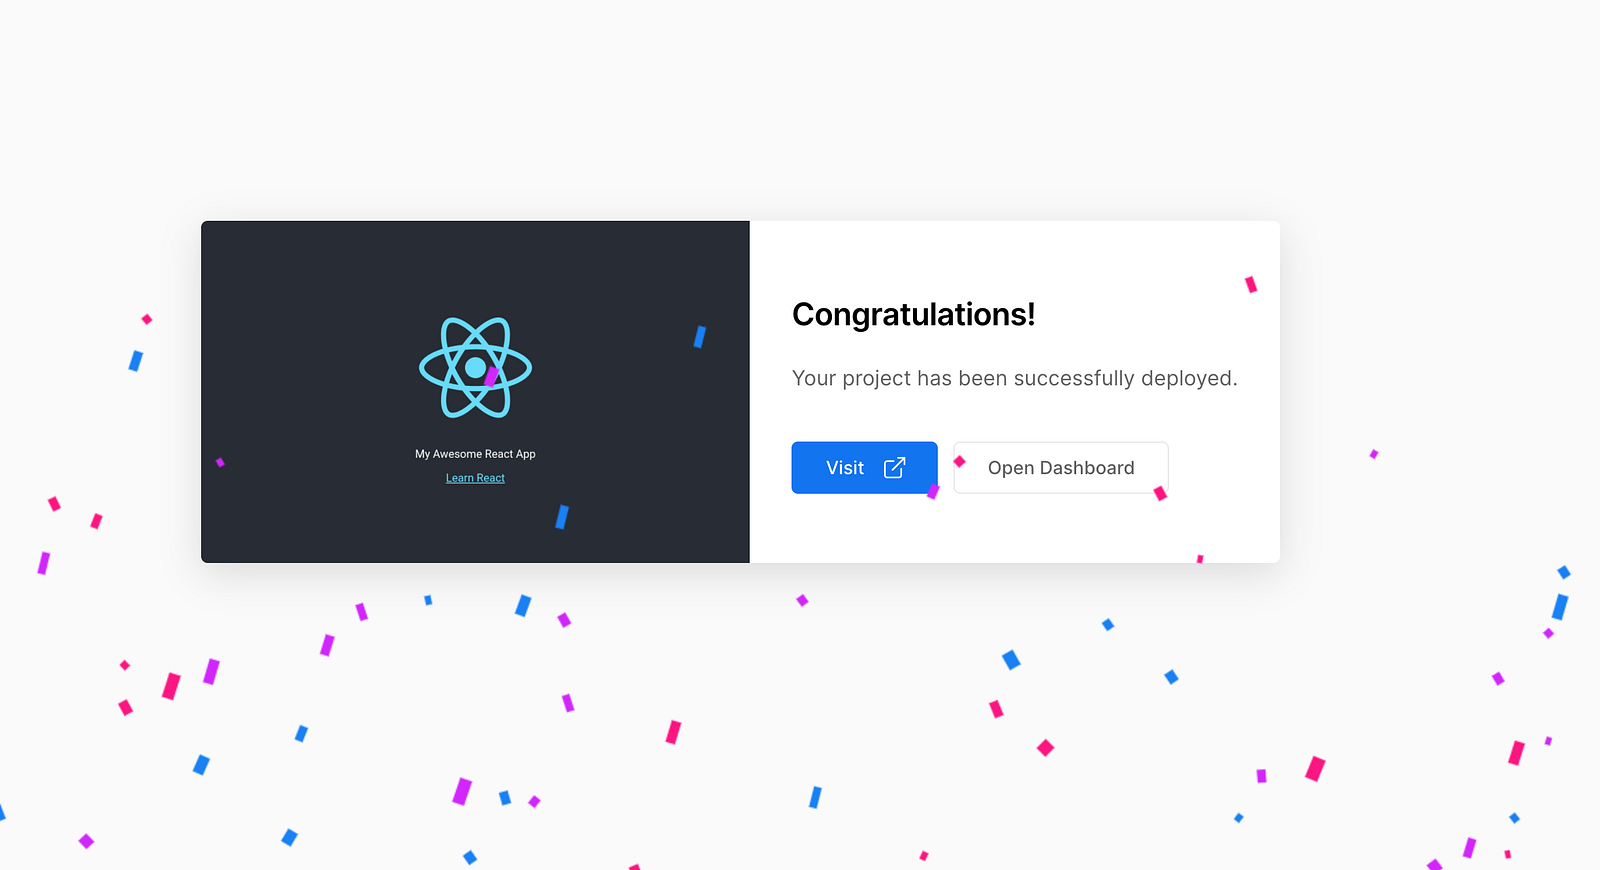
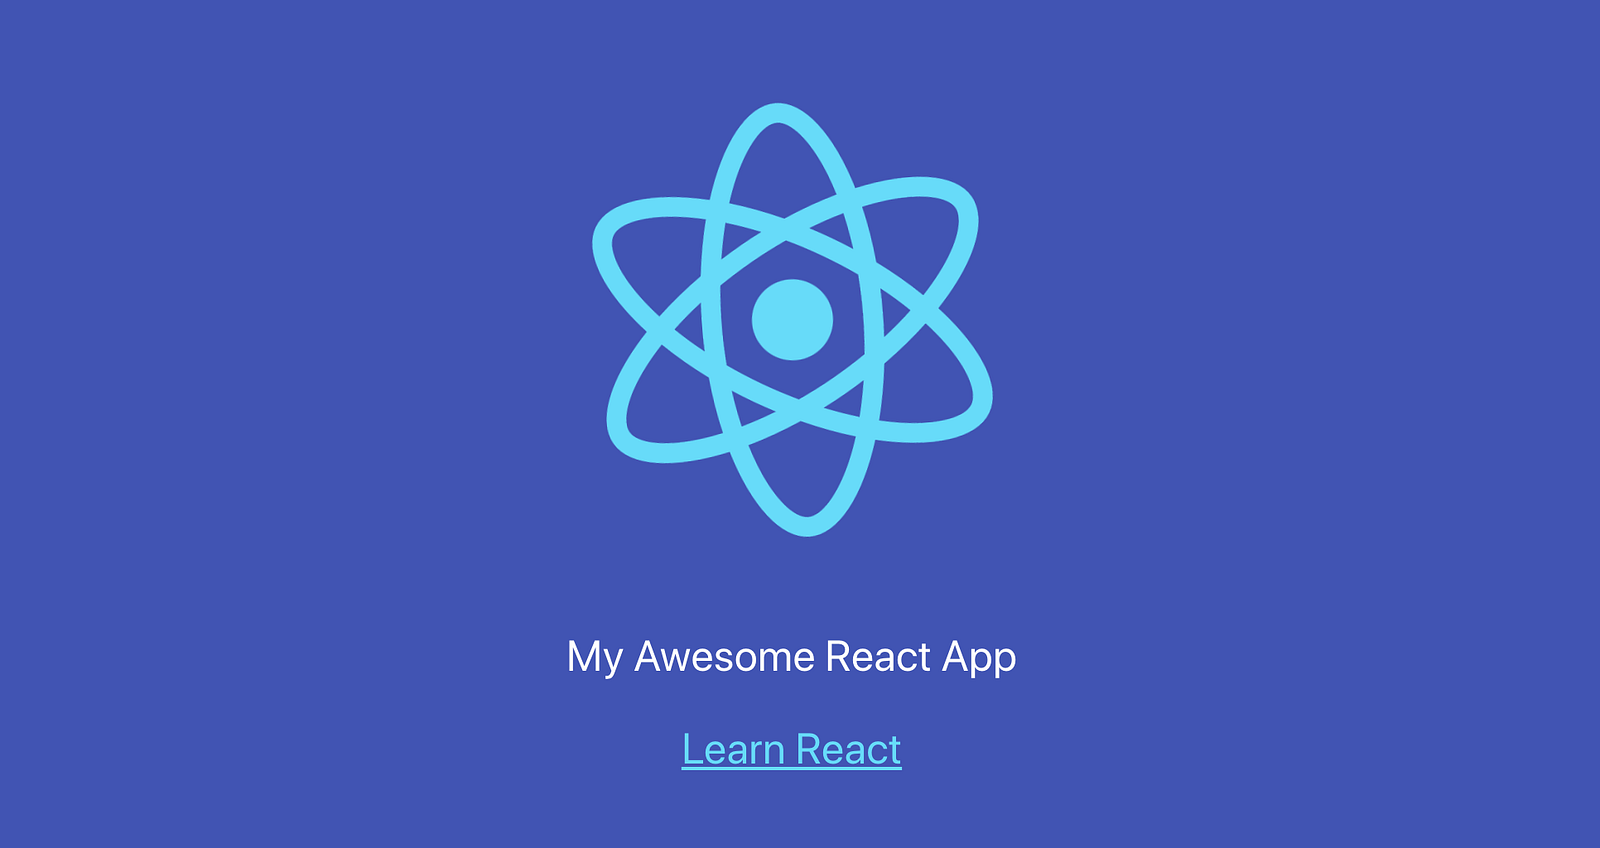
Click the “Visit” button to see it.
From here on, whenever you make an update to the site, push the changes to the master branch, and Vercel automatically starts a new build to update your site with those changes.

On your dashboard, you’ll see an upcoming build. Once it’s completed, your changes will be up in no time.
All of these steps work the same way for Vue applications and a majority of the other javascript apps supported by Vercel.
Cheers ☕️