

Tailwind CSS is a Utility first CSS Framework for building modern user-friendly UI components. By Utility first, I mean Tailwind focuses on the singularity of CSS classes, making sure a single class does exactly one thing.
Want to give Tailwind CSS a spin but you’re not sure where to start? Let me show you.
Requirements
- Node.js v12 and above setup.
- Basic HTML and CSS knowledge.
In the installation guide, there are detailed descriptions on how to get started with integrating tailwind CSS with Javascript Frontend Frameworks.
If you however only have basic experience of HTML and CSS and want to get started with Tailwind, first, make sure you’re running Node version v12.16 or above. Next, you’ll want to first install NPX globally. If you are running NPM version 5 and above, npx should already come pre-bundled with npm.
npm i -g npx
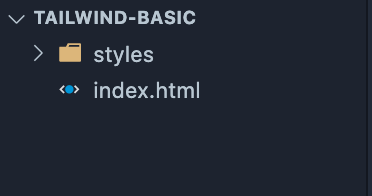
Once it’s installed, create a basic web project. I’ll keep it as simple as possible, our project structure would look something like this:
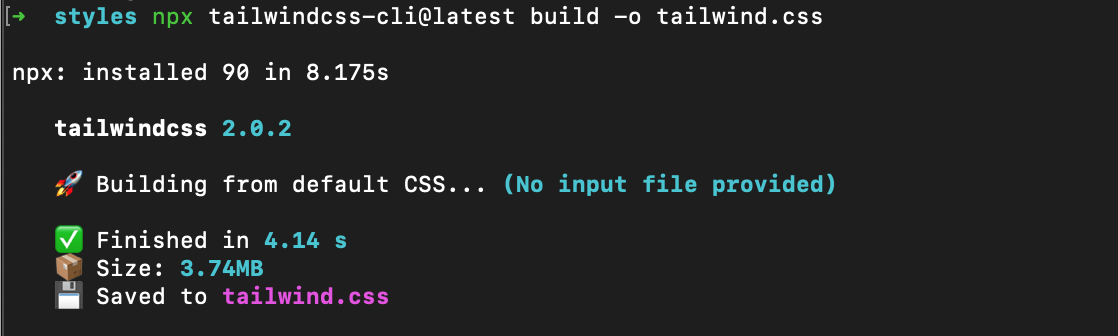
Now from your terminal, change into the styles directory and run this command to generate a compiled tailwind.css file within that directory:
npx tailwindcss-cli@latest build -o tailwind.css
Once that’s successfully installed, you should see a prompt in your terminal like this.
And a new file “tailwind.css” should now live in your styles directory.
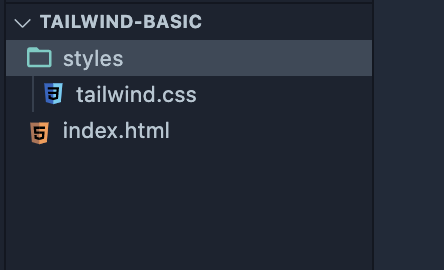
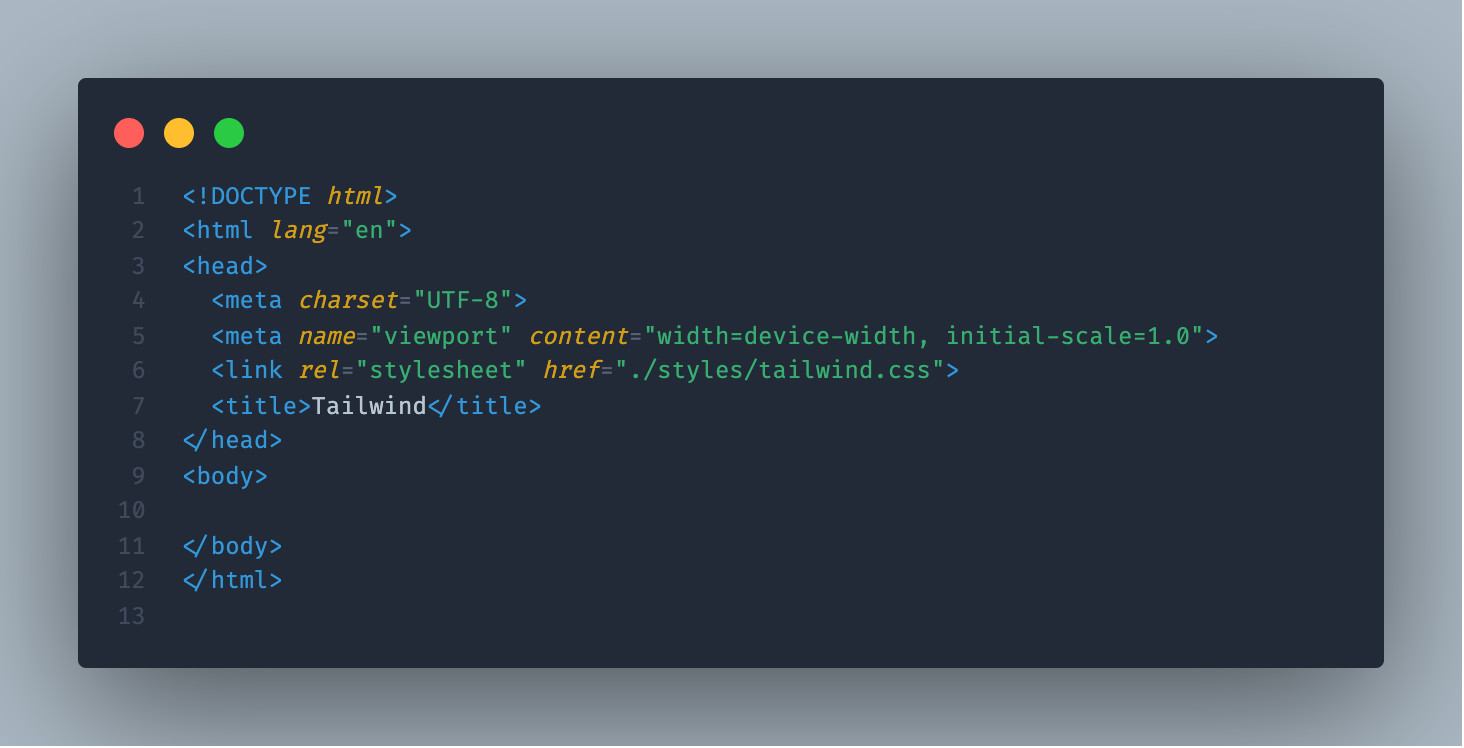
You can now link this CSS file in your index.html file like you normally would any stylesheet.
You’re good to go from here on. Open the HTML file in your browser and start hacking. You’d only need to read the documentation to find whatever utility class you need. Check out a demo here.

You can also find the source code for the demo here:
MartinsOnuoha/tailwind-basic
A Basic setup of Tailwind CSS for static HTML & CSS projects
github.comCheers ☕️