This is an almost straightforward guide to setting up Laravel on your machine. Laravel, if you didn’t already know, is a PHP framework for building robust web applications in a more expressive and structured way. Feel free to check the docs on Laravel’s website.
Most of the procedure here would be familiar with developers who at one point or another fiddled with the CLI. To follow along, you should have worked with either a Terminal (Unix) or Command Line (on Windows).
Getting Started (PHP 7.3)
To get started with Laravel, the first and most obvious thing you’d need to have installed is PHP. Since Laravel is a PHP Framework, it doesn’t work without it.
Windows
To get PHP installed and set up on your Windows machine, you could:
- Decide to go with some excellent all-in-one solutions that contain Apache, PHP, MySQL, and other applications in a single installation file; e.g. XAMPP.
- Or, use the official installer available from php.net.
If you’re new to web development, I would recommend the first option as it’s straightforward and gets everything set up for you (including annoying environment variables).
macOS
For users of the latest macOS versions, You should already have PHP installed by default. You can verify this by opening your terminal and typing:$ php -v.
Chances are the version of PHP you’ll have will be somewhere around 5.x, but the latest version of PHP available for installation is 7.3 (at the time of this post).
PHP 7.4 is scheduled to be released on November 28, 2019. It’s the next PHP 7 minor release and should once again boost performance and improve code readability/maintainability.
To install PHP 7.3, open the terminal and run these commands:
curl -s http://php-osx.liip.ch/install.sh | bash -s 7.3
export PATH=/usr/local/php5/bin:$PATH$
php -v
Install with brew
You can also install PHP with homebrew. Homebrew is a package manager for macOS. First, uninstall any existing version of PHP.
brew remove — force — ignore-dependencies httpd
brew remove — force — ignore-dependencies php70-xdebug php71-xdebug
brew remove — force — ignore-dependencies php70-Imagick php71-Imagick
brew remove — ignore-dependencies — force php70 php71 php72
Then, install [email protected] and upgrade to 7.3.
brew install php [email protected]
Once that’s completed, you can upgrade with:
brew upgrade [email protected] upgrade php
Linux
For Linux users, most of the package installation would be handled by your package manager. In Ubuntu, for example, apt is the default package manager for managing Linux packages. To get started with installing PHP on ubuntu, first, update your Ubuntu OS packages to the latest version using:
sudo apt update && sudo apt upgrade
The next step is to install a web server. Depending on your preference, you can choose either Apache or Nginx. They work pretty much the same way, but the configuration differs. To install Apache web server, run the following command from your terminal:
sudo apt install apache2
You can then start the Apache2 server:
systemctl start apache2
For your convenience, you can enable autostart for Apache, so every time your machine is restarted, Apache automatically starts:
systemctl enable apache2
You’ll need to add a PPA to have php7.3 in your repository:
sudo add-apt-repository ppa:ondrej/php && sudo apt update
Once your packages have been updated, you can install PHP:
sudo apt install php7.3 php7.3-cli php7.3-common
If you need to install PHP extensions, and you can also get them using the apt package manager:
sudo apt install php-pear php7.3-curl php7.3-dev php7.3-gd php7.3-mbstring php7.3-zip php7.3-mysql php7.3-xml php7.3-fpm libapache2-mod-php7.3 php7.3-imagick php7.3-recode php7.3-tidy php7.3-xmlrpc php7.3-intl
PHP Extensions on macOS
Homebrew has officially dropped support for PHP extensions. However, extensions can still be installed with pecl.
Here’s a list of extensions you’ll want to install for Laravel Development.
- BCMath PHP Extension
- C Type PHP Extension
- JSON PHP Extension
- Mbstring PHP Extension
- OpenSSL PHP Extension
- PDO PHP Extension
- Tokenizer PHP Extension
- XML PHP Extension
Using Perl:
pecl install extension_name
Installing Composer
Like most PHP Frameworks, Laravel also uses Composer to manage its dependencies To Install Composer, you can run these commands accordingly in your terminal:
php -r "copy('https://getcomposer.org/installer', 'composer-setup.php');"
php -r "if (hash_file('sha384', 'composer-setup.php') === 'a5c698ffe4b8e849a443b120cd5ba38043260d5c4023dbf93e1558871f1f07f58274fc6f4c93bcfd858c6bd0775cd8d1') { echo 'Installer verified'; } else { echo 'Installer corrupt'; unlink('composer-setup.php'); } echo PHP_EOL;"
php composer-setup.php
php -r "unlink('composer-setup.php');"
The four lines above will:
- Download the installer to the current directory.
- Verify the installer SHA-384, which you can also cross-check here.
- Run the installer.
- Remove the installer.
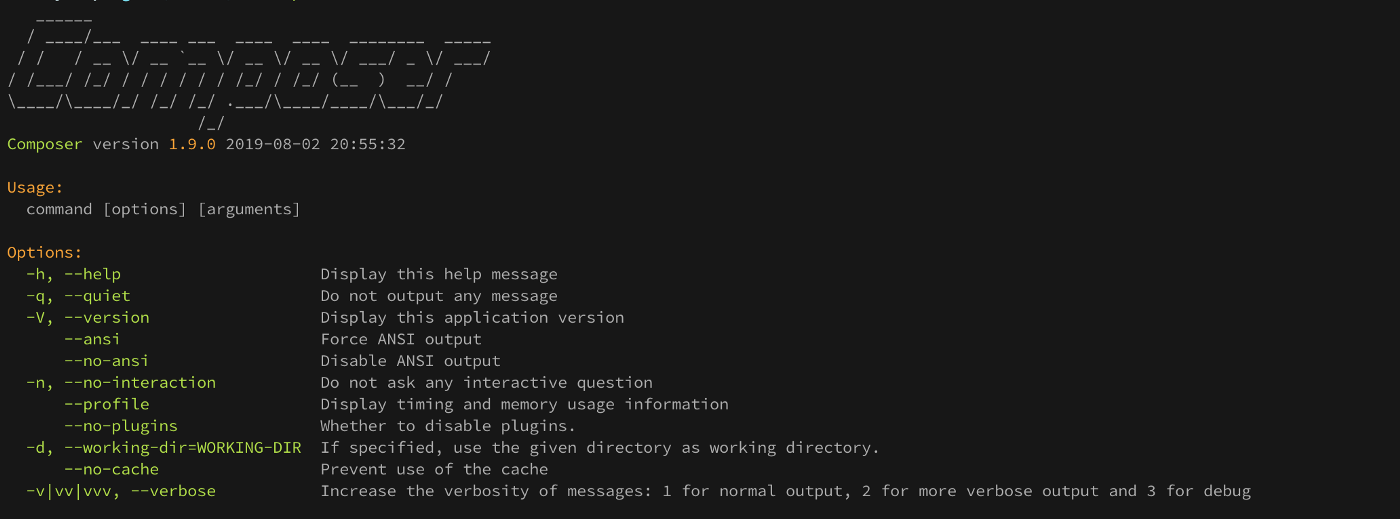
If the installation was successful, you should be able to type composerin the terminal and see the currently installed composer version and command options.
Installing Laravel
With composer installed, we can proceed to install Laravel like so:
composer global require laravel/installer
Once the installation is complete, you’ll need to confirm that you have your composer system-wide vendor bin directory in your PATH. This is so laravel can be accessible as an internal command from the terminal.
You’ll likely find the vendor directory here:
- macOS and GNU / Linux Distributions:
$HOME/.composer/vendor/bin - Windows:
%USERPROFILE%\AppData\Roaming\Composer\vendor\bin
Once you find the composer vendor bin directory, you can add this to your path by opening up ~/.bashrc or ~/.bash_profile in a text editor (or from the terminal with vim or nano) for macOS users. Also, if you use a Unix shell extension like Zsh, you can open up ~/.zshrc and add the line below:
export PATH="$PATH:$HOME/.composer/vendor/bin"
Close the file and run the below command in your terminal so the changes will take effect:
source ~/.bashrcsource ~/.bash_profilesource ~/.zshrc
Once that’s done, you should have access to the Laravel command on the terminal:
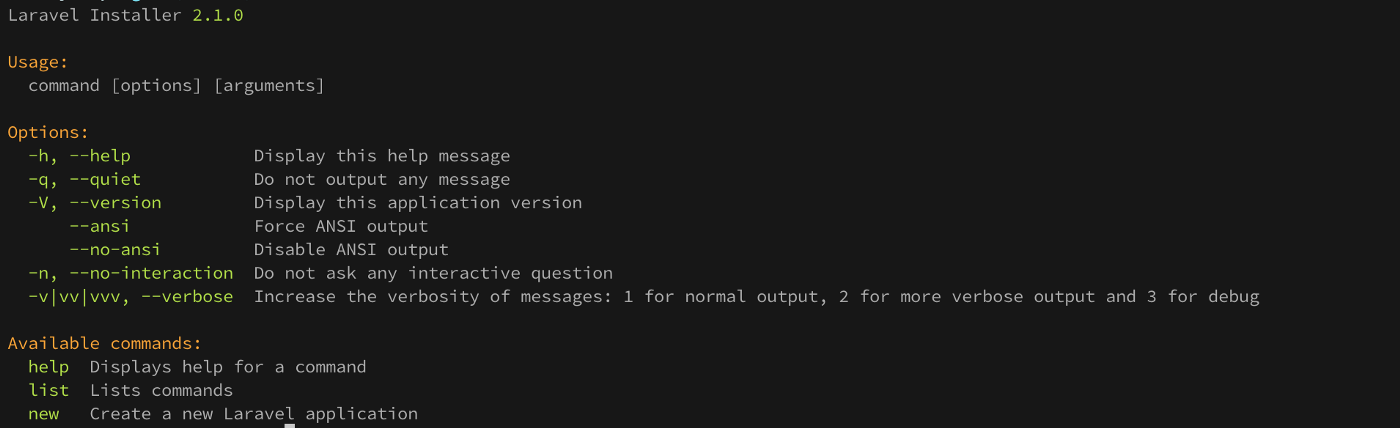
At this point, you can heave a sigh of relief. We’re pretty much done with setting up Laravel on our machine and can jump right into building Laravel applications.
Getting Started With Laravel
With the Laravel CLI, scaffolding a new Laravel application has never been easier. From the terminal, to create a new application:
laravel new application_name
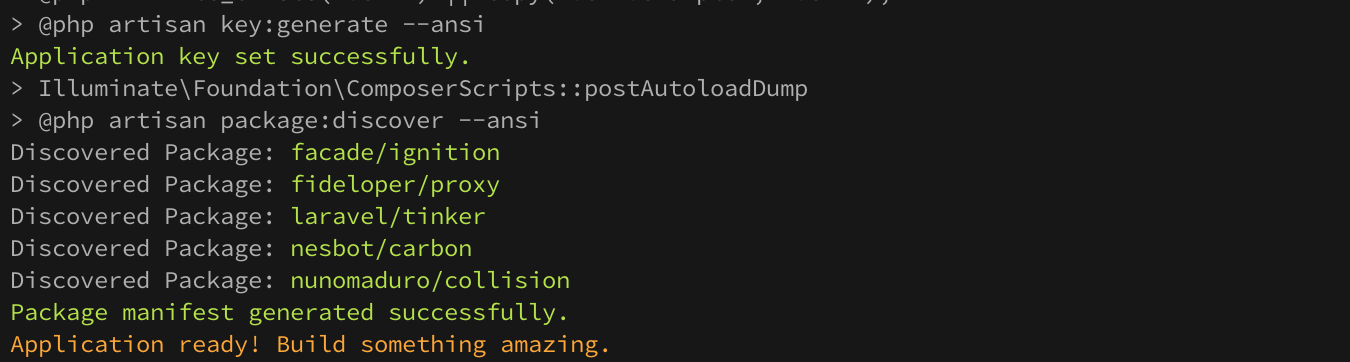
Once the new application has been generated successfully, you should see this in your terminal. You can then go into the application root folder and start the application:
cd application_name
Run the application with:
php artisan serve
Laravel development server started: http://127.0.0.1:8000
You can open the URL (http://127.0.0.1:8000) in your browser to see your new Laravel application.
Database
Laravel works flawlessly with Relational Databases, including PostgreSQL and MySQL. If you don’t already have MySQL installed on your local machine, here’s the official documentation on how to get MySQL installed:
- For Unix / Linux:
- For Windows:
- For MacOS:
Once you have MySQL installed, you can install a database client to manage your databases and tables. I’d recommend Sequel Pro for macOS users or MySQL Workbench, which works for multiple platforms.
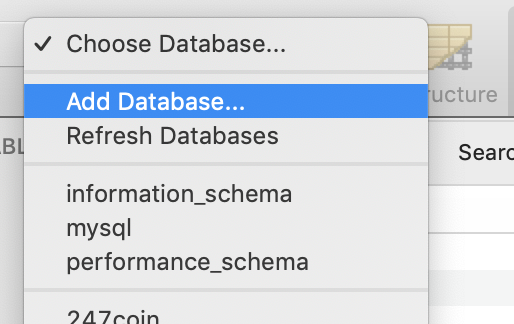
From your MySQL Database client, you can create a new database and give it a catchy name if you want.
You can then configure your Laravel project to use the new database you created. Open your application folder in any code editor and edit the .env file:
DB_CONNECTION=mysql
DB_HOST=127.0.0.1
DB_PORT=3306
DB_DATABASE=new_database
DB_USERNAME=grimebuttom
DB_PASSWORD=foolstark
Once that’s set, you can run a migration successfully:
php artisan migrate:fresh
If you followed through, I’d expect you have a working setup of Laravel on your machine.
Go build something amazing!
Pssst! If you’re not sure where to go next, you can try creating an actual Laravel application.
Cheers ☕️